I’ve been asked a lot about what camera I use, what lens I shoot with, how I take photos by myself, and so on.
Well, it’s time to write a post on exactly that!
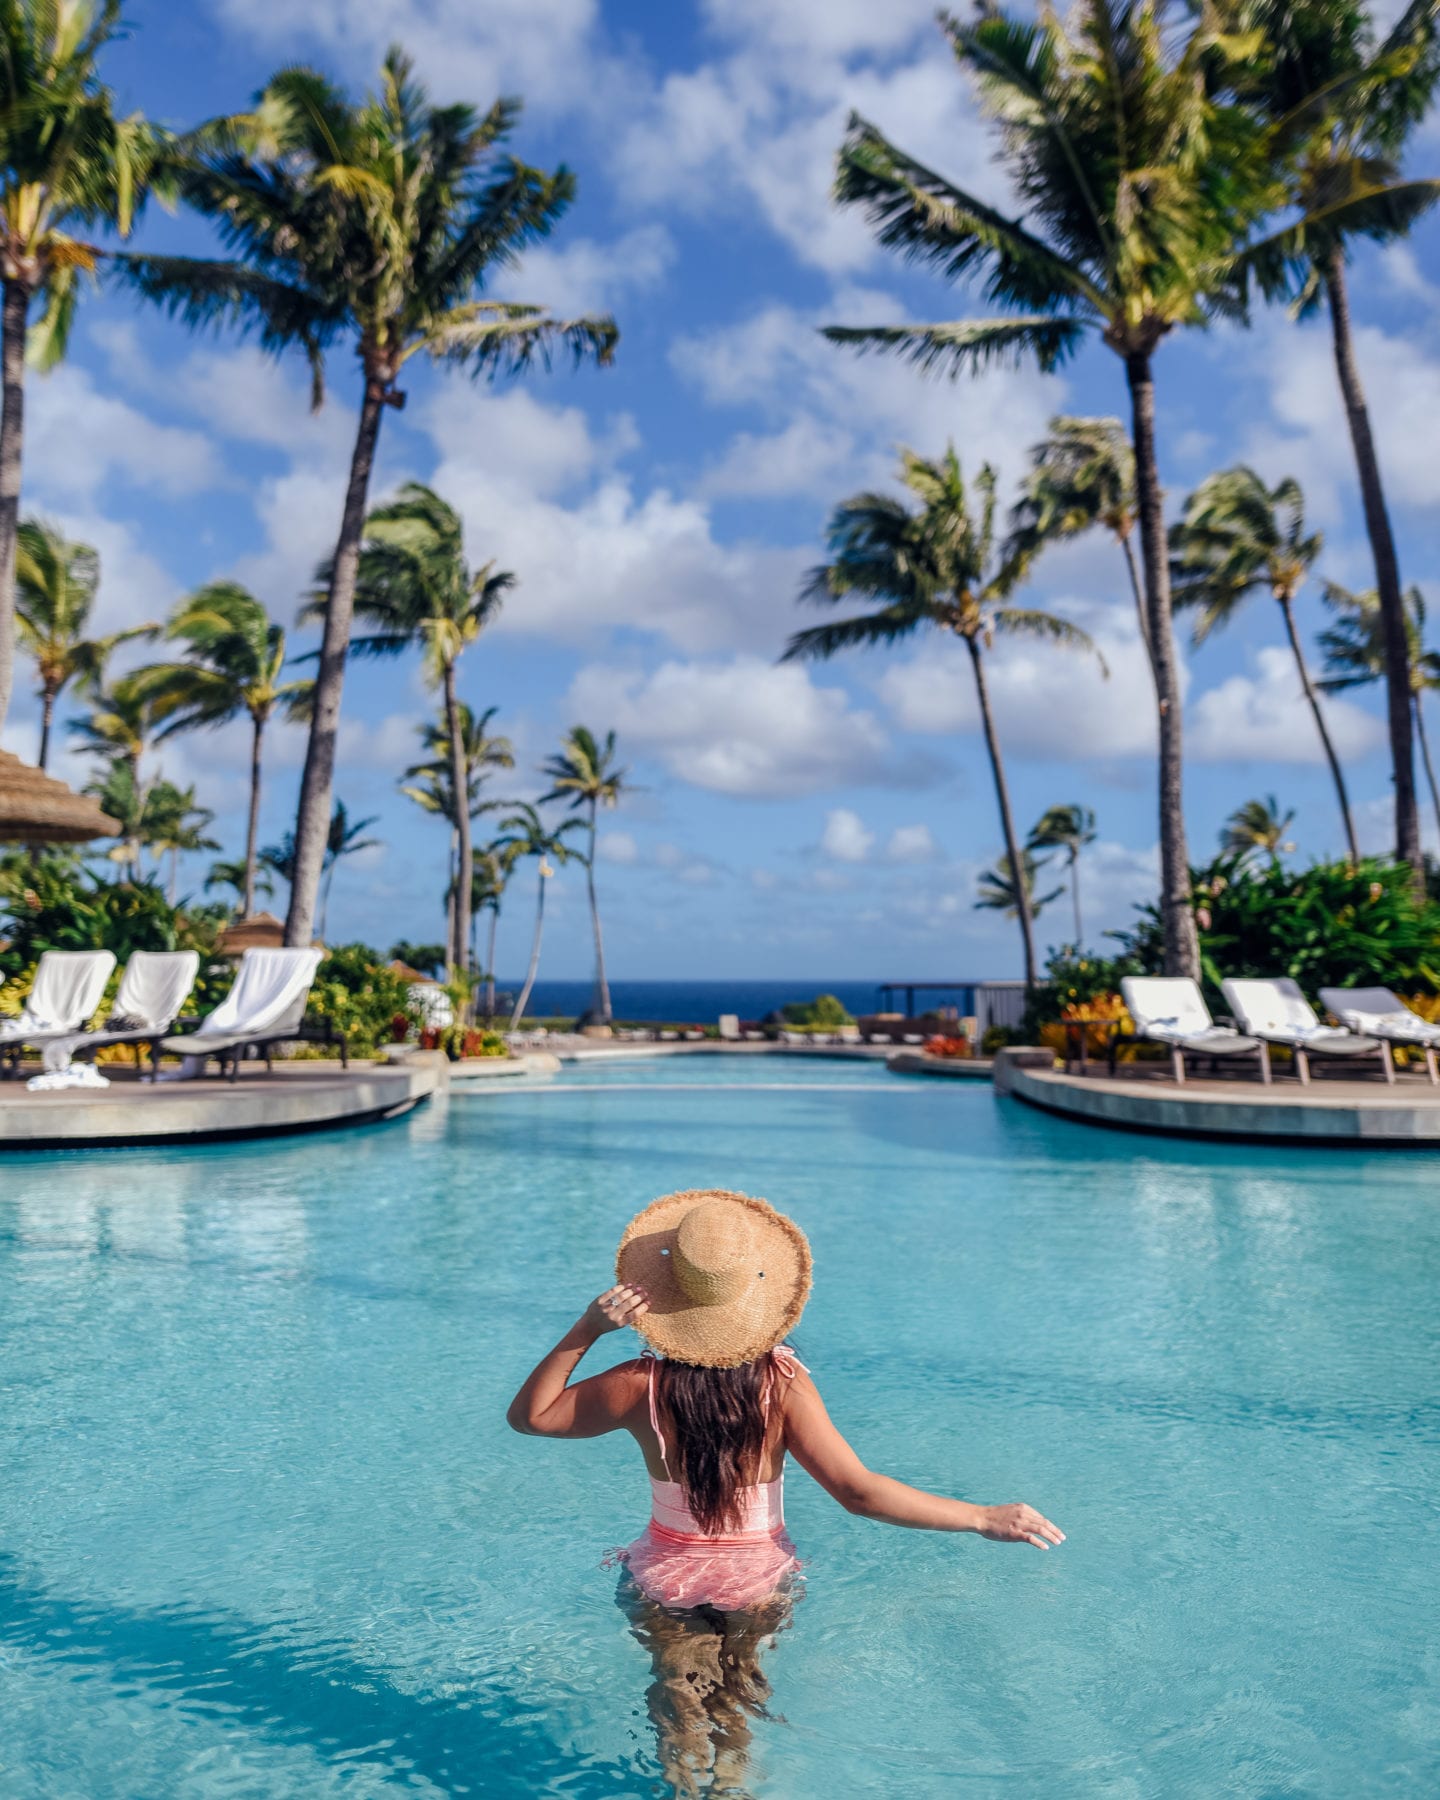
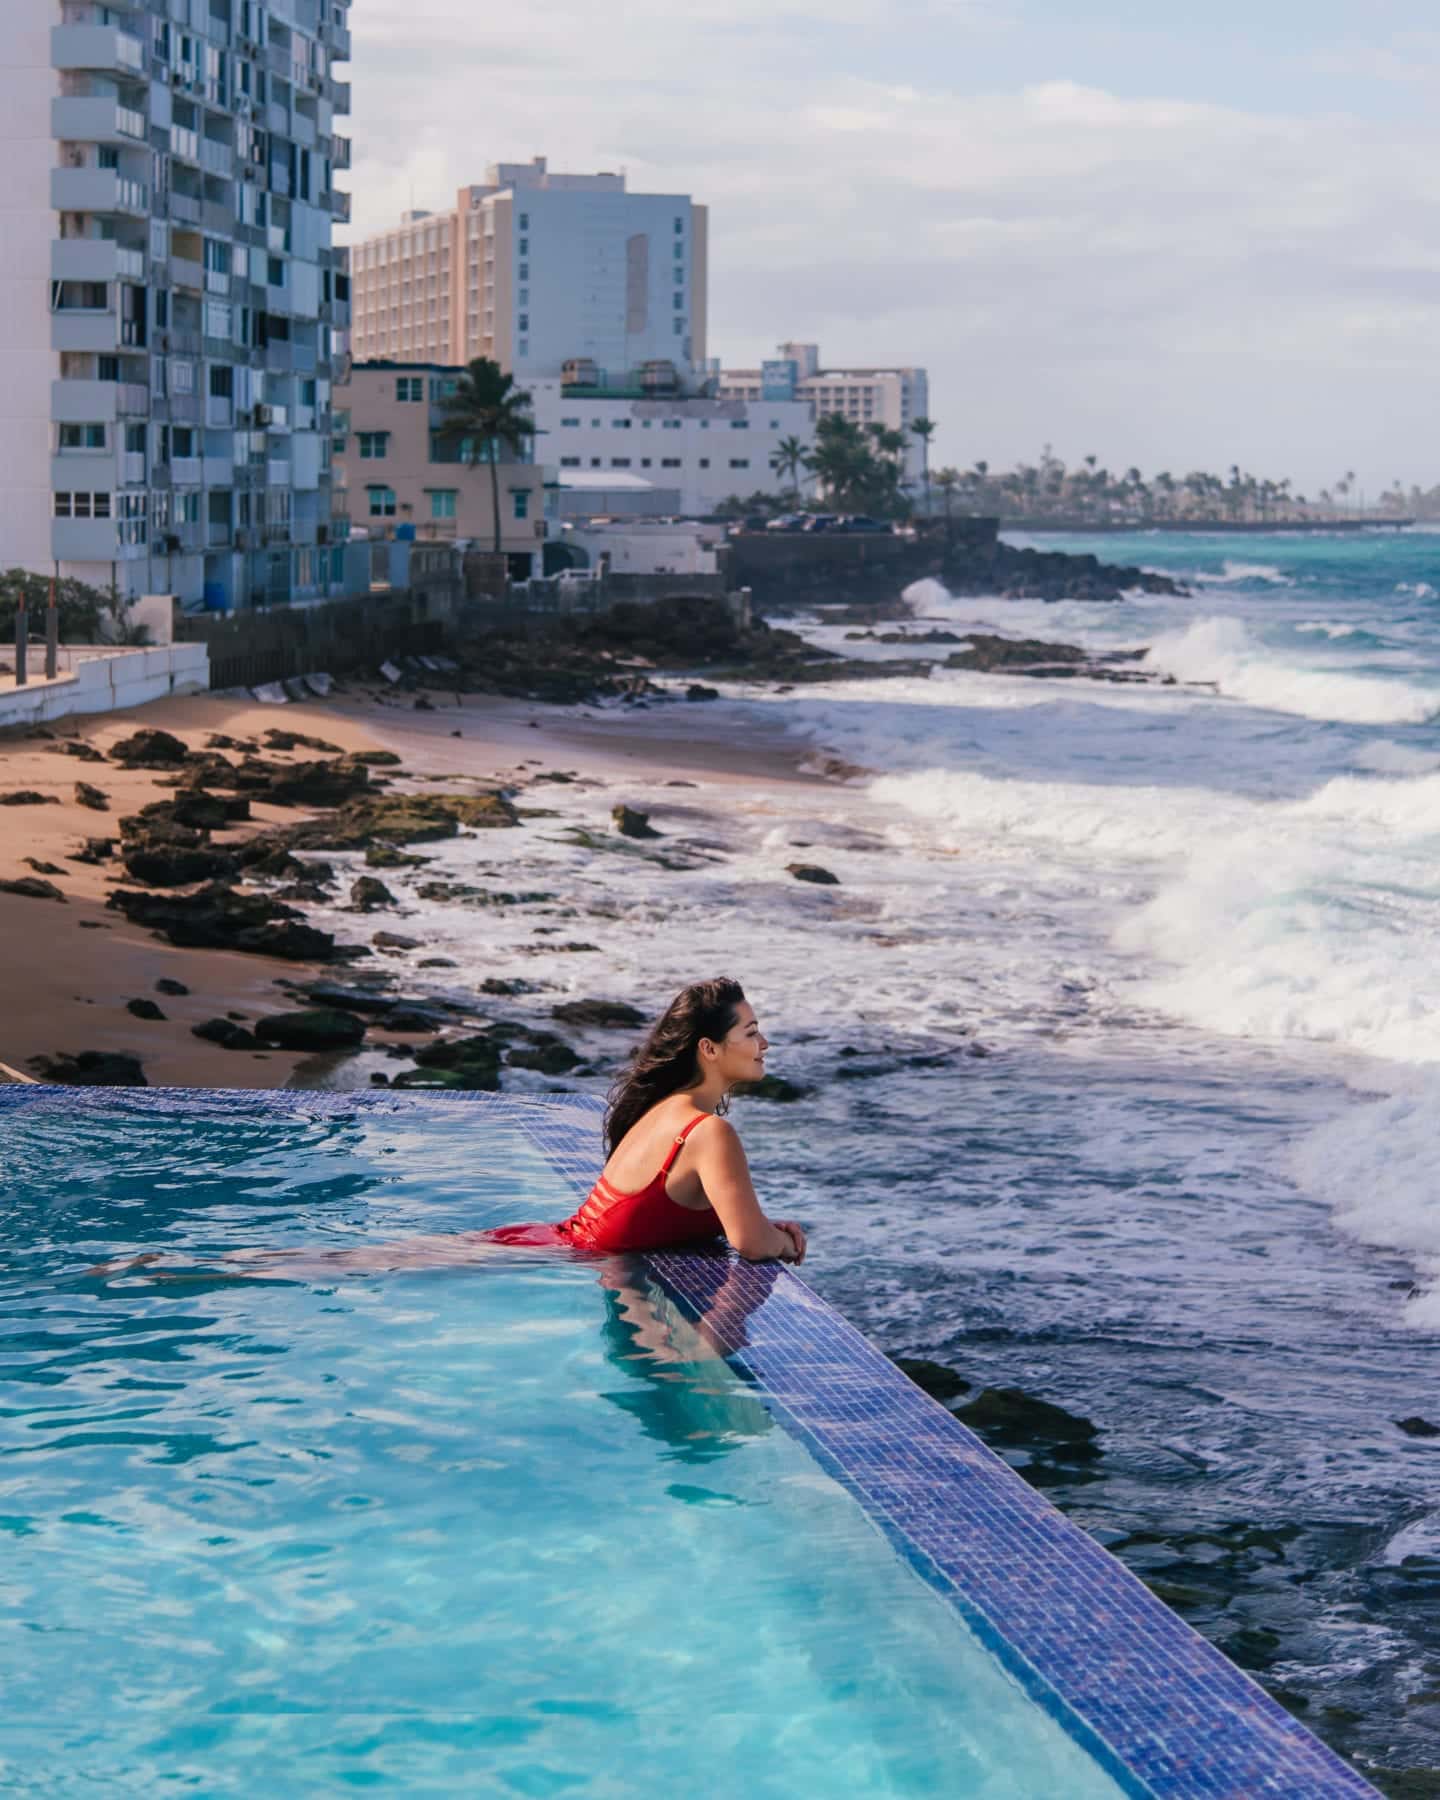
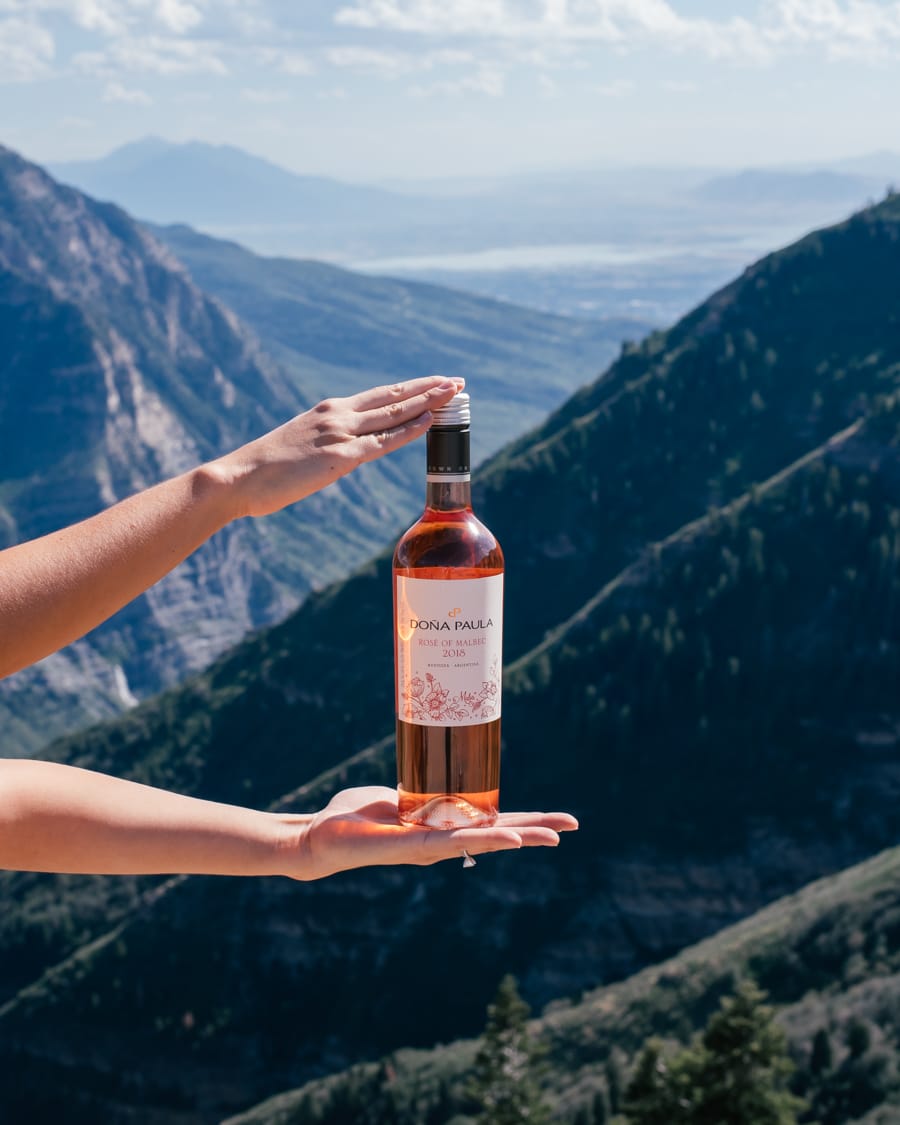
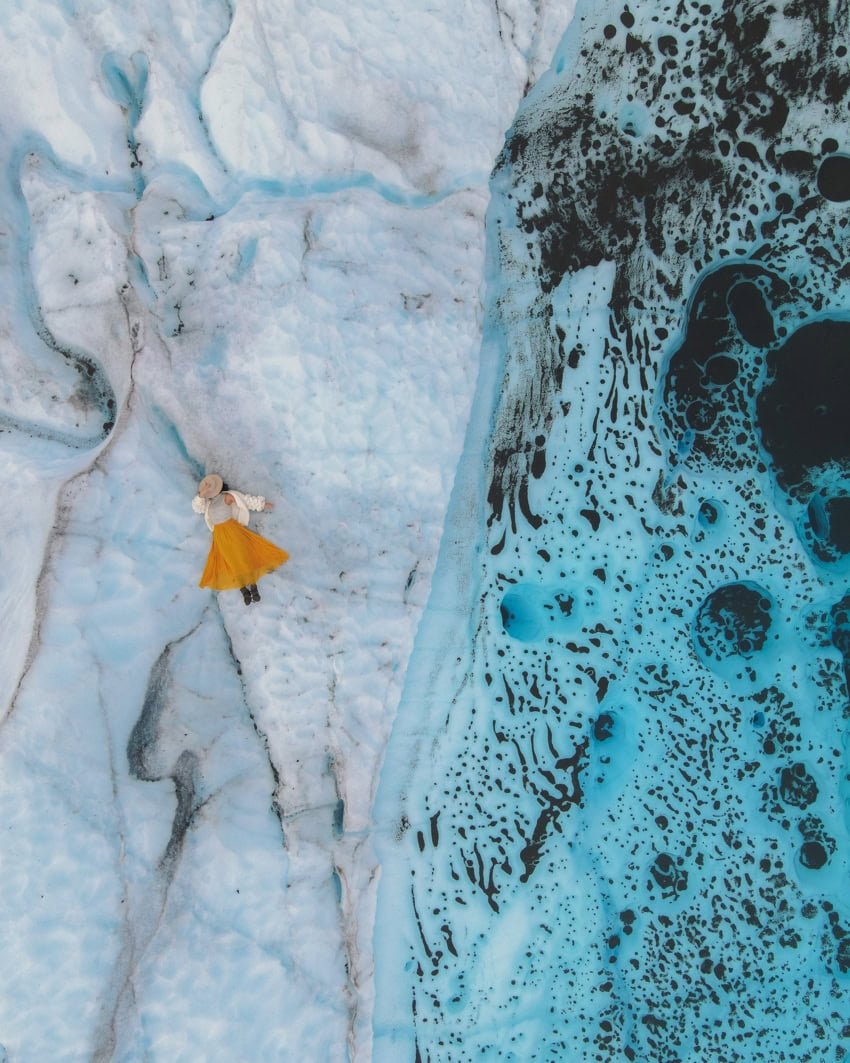
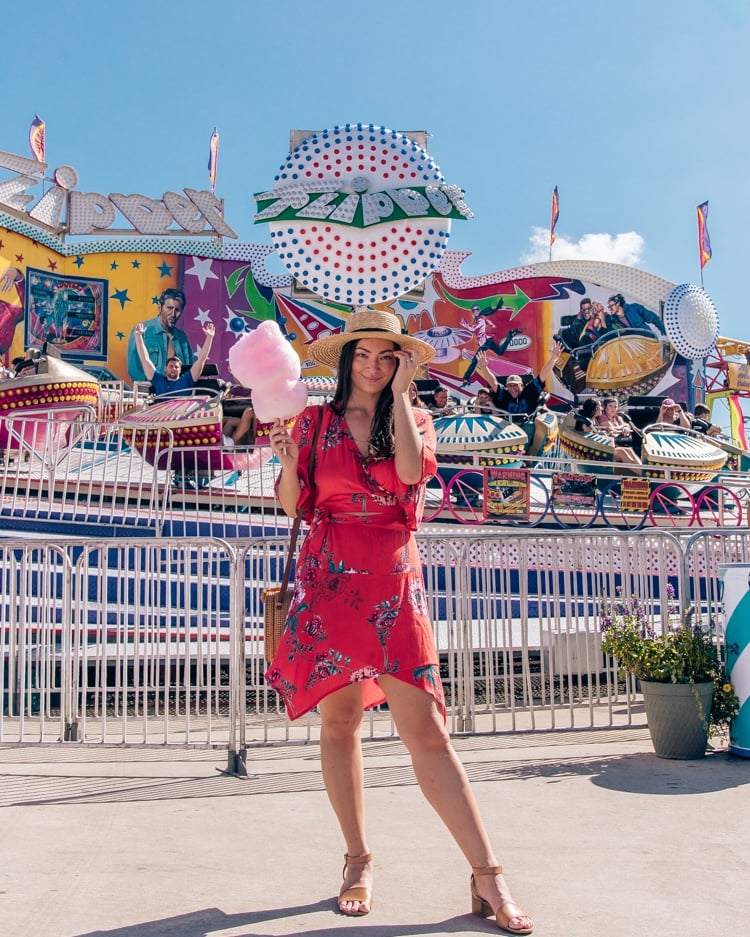
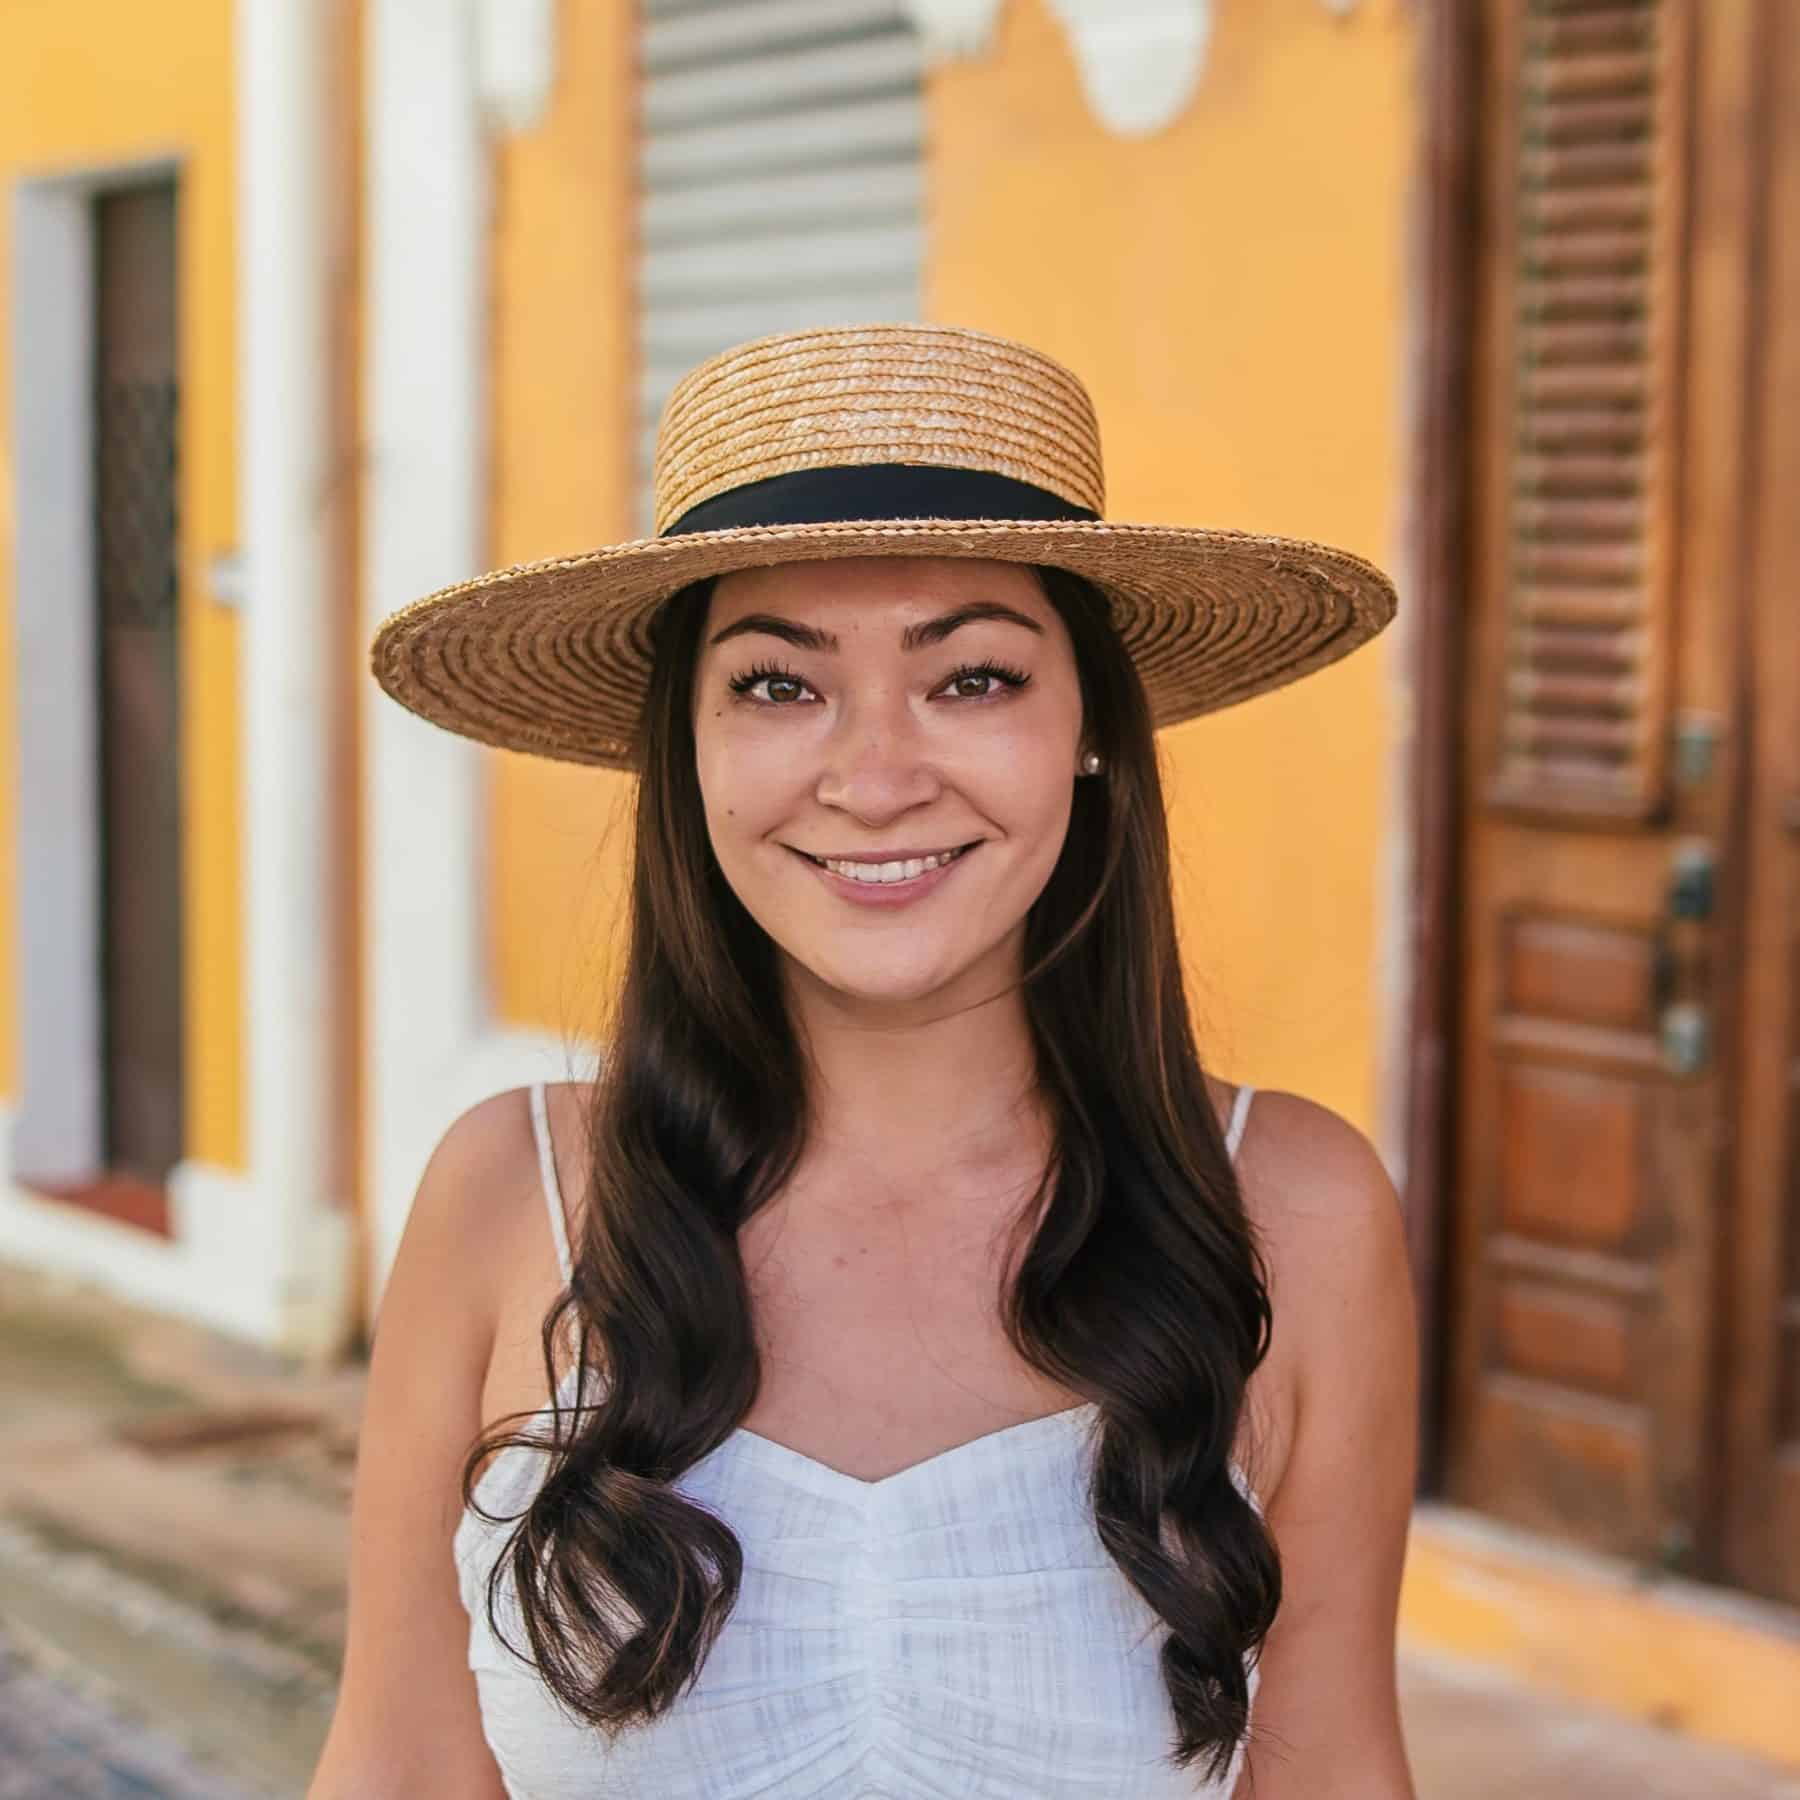
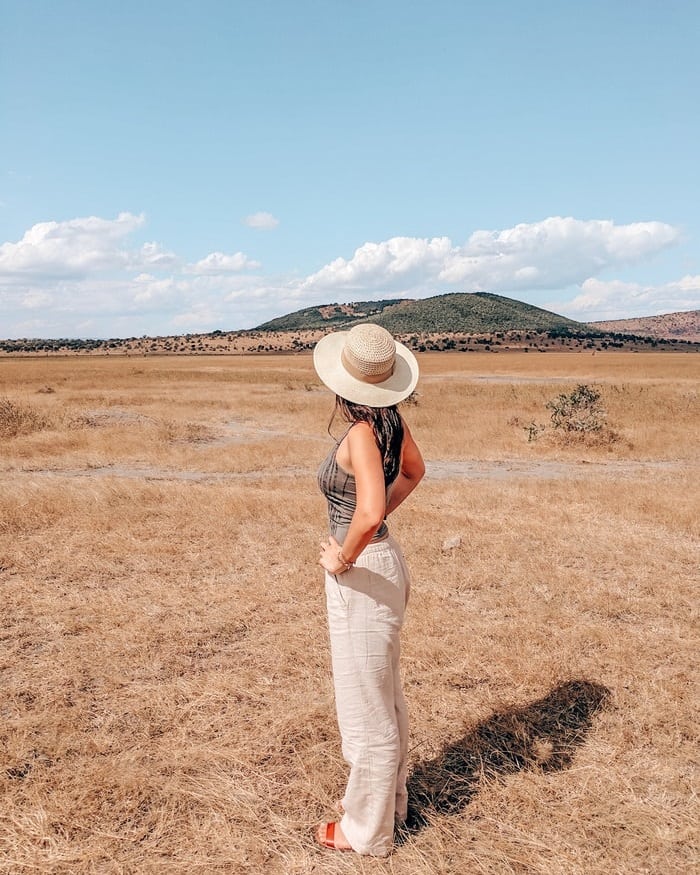
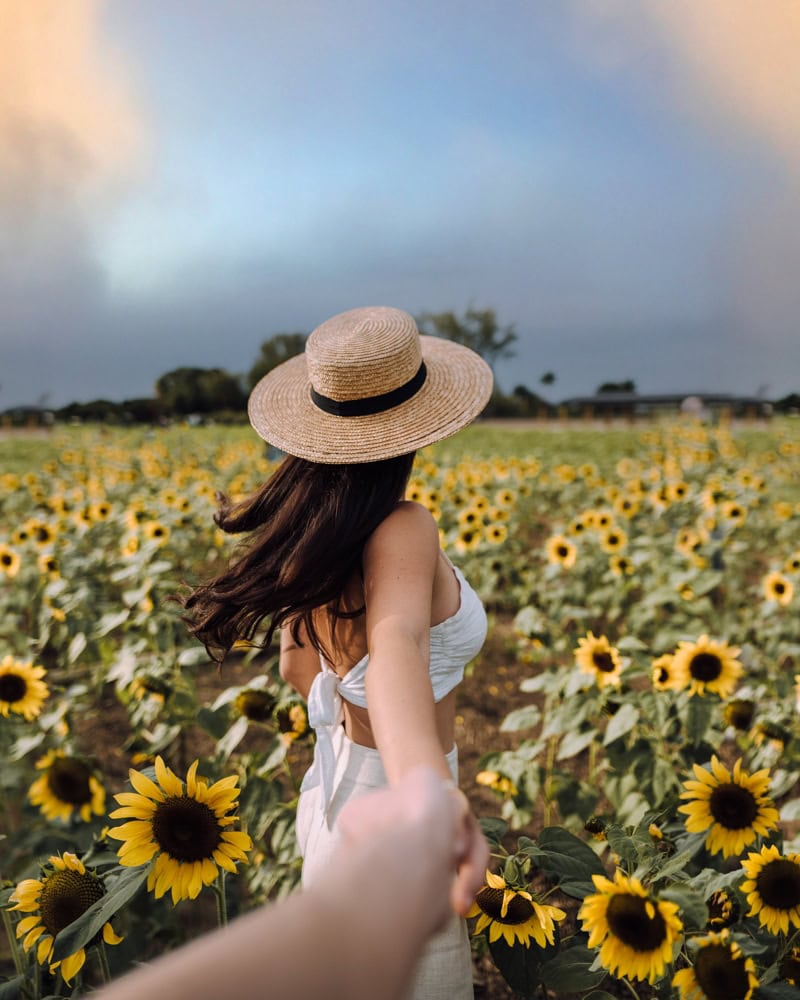
At first, I used my Google Pixel to capture all the photos on my blog and Instagram when I first got started in 2017.
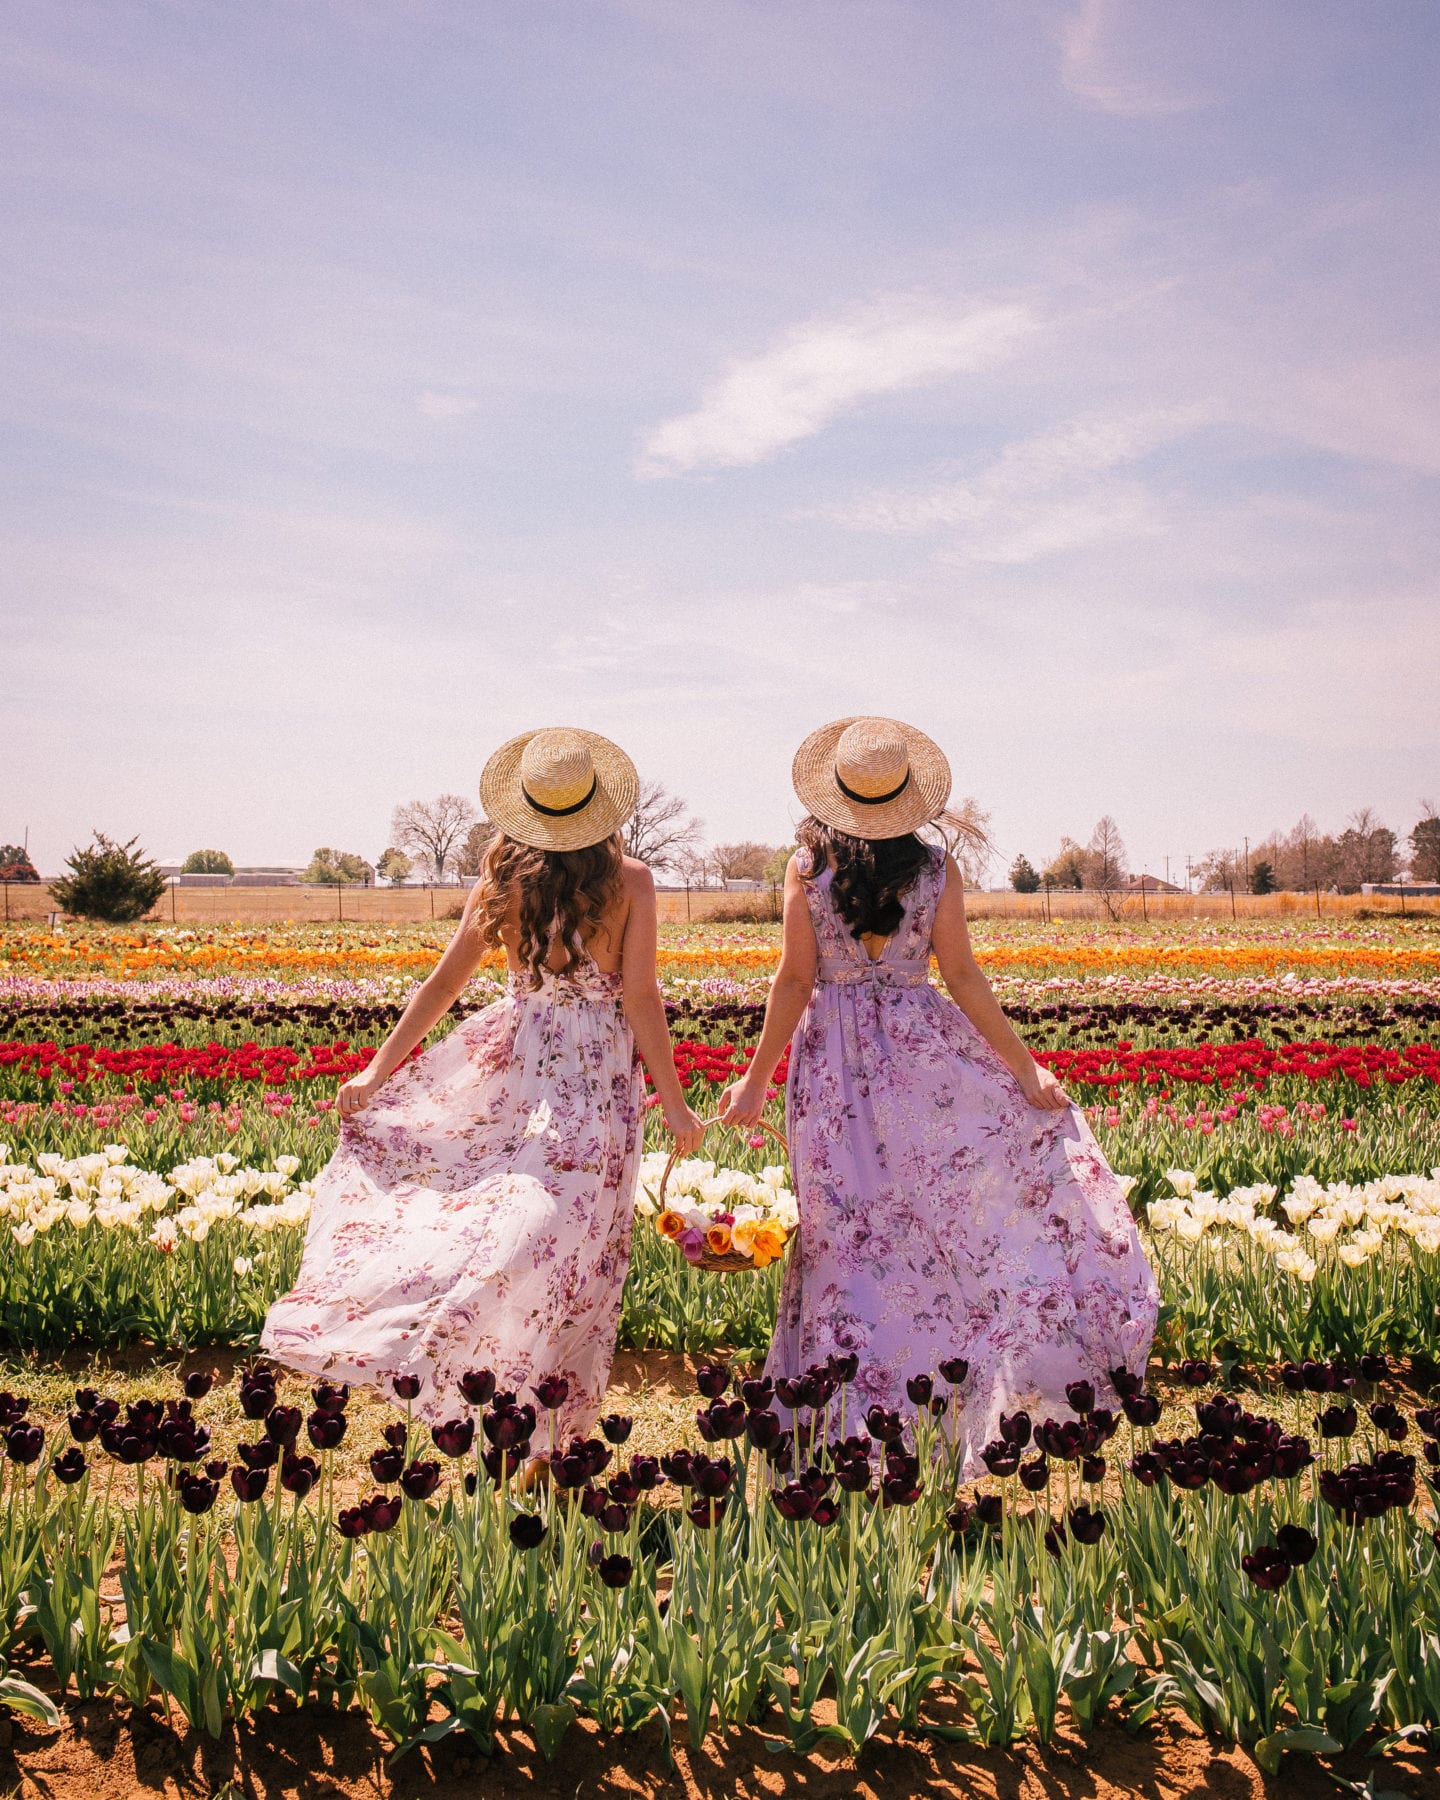
I still managed to capture some really great shots like these two:

But my blogging career drastically changed in June 2018 when I got my DSLR.
How?
Well, my image quality increased significantly.
Some people say that a phone is all you need to blog…
But take it from someone who used their phone for the first year of their travel blogging career: When doing travel photography, you want a camera instead – preferably one that’s high-quality!
Since then, I’ve invested in some pretty awesome camera gear, and it’s time to share exactly what I use with you all!
My camera
I actually started off with a Nikon D3400 – and ended up selling it for way less than it’s worth when I decided to join the big leagues and make an investment in my career.
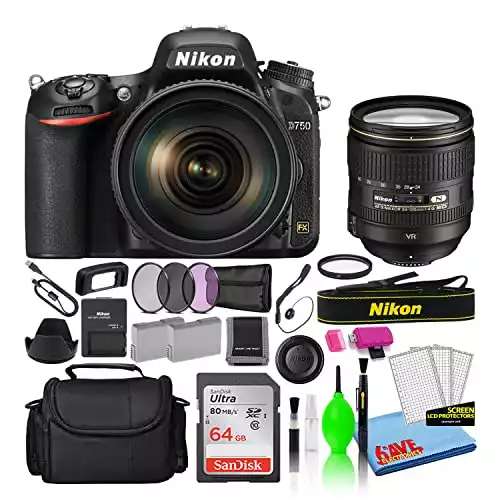
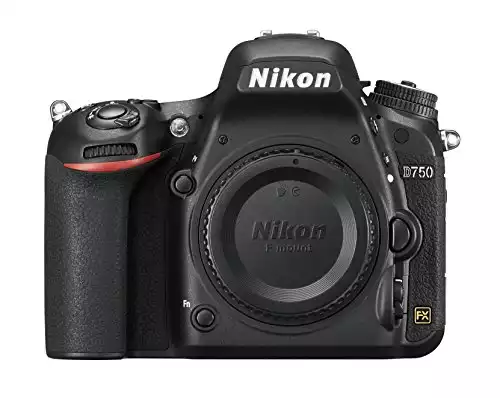
The Nikon D750, a full frame, compact camera, changed my work life and was one of the greatest purchases I’ve ever made. These DSLR cameras are amazing to use if you plan on adding landscapes or portrait pictures to your social media posts – like I have! The Nikon D750 is among the best compact cameras I’ve worked with!
For those who are new to cameras, DSLR cameras are not the same as mirrorless cameras. The biggest difference between them is that DSLRs actually use mirrors, which is how these cameras reflect images to a viewfinder. Mirrorless cameras use electronic viewfinders to digitally display the images they captured.
There are actually tons of DSLR brands and types out there. You have Sony, Canon EOS, Fujifilm X, and Panasonic, to name a few.
I bought this Nikon D750 that includes the kit lens (which is an amazing lens), but if you just want the camera body, you can find that option here as well. With 24.3 megapixels to its name and an ISO range of ISO 100 up to ISO 12800, honestly, this is one of the best travel cameras around for me!
Like I mentioned earlier, prior to this camera I mostly captured images on my phone. When I switched to my camera, it was like putting on glasses I never knew I needed. I started taking quality photos!
The images are way sharper; so much information is captured in the shadows, and I shoot images in RAW (instead of JPEG) to retain as much detail as possible.
Once I shoot my photos, I edit them in Adobe Lightroom using my Lightroom presets.
Connecting to your phone
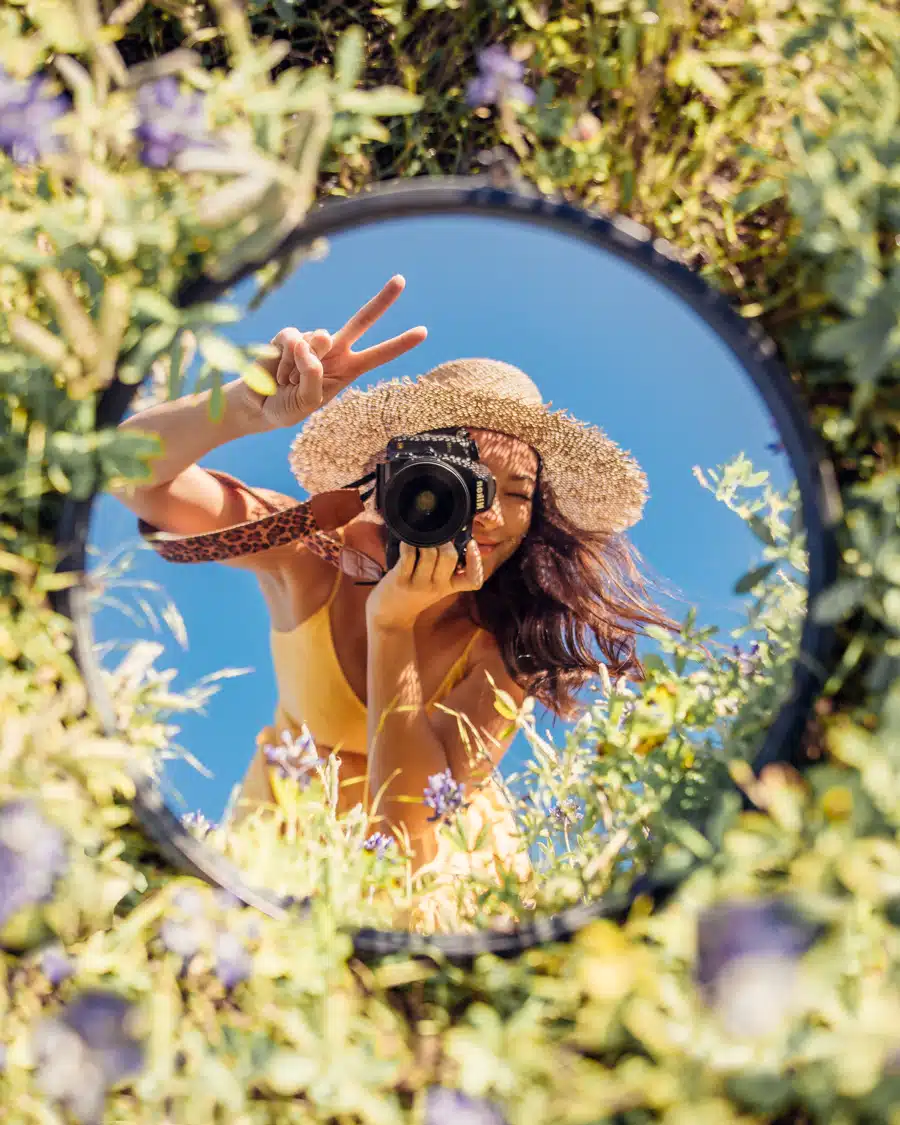
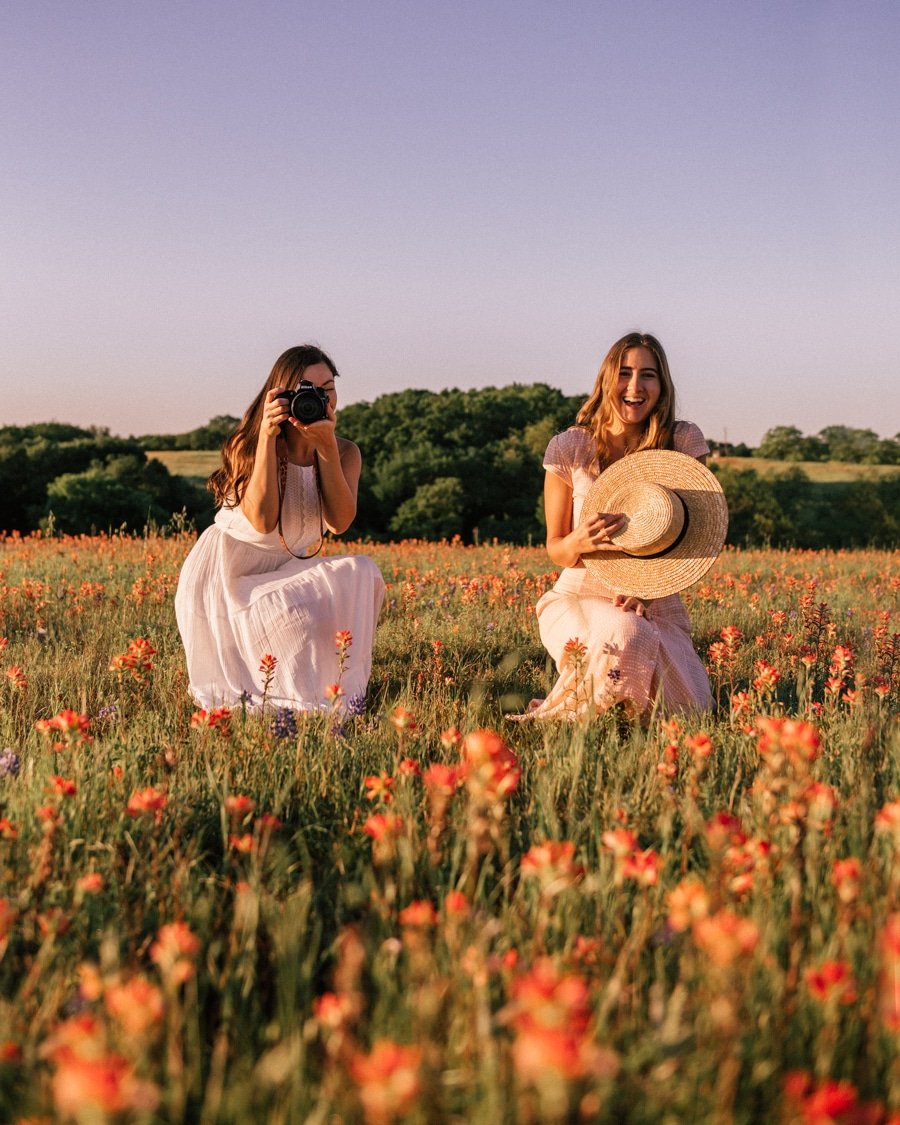
I love this full-frame camera with its full-frame sensor so much, and one reason why is that it can connect to your smartphone so you can take photos of yourself, by yourself!
You simply set up your tripod with your camera, turn on the wifi setting, open your phone Nikon WMU app, and voila!
You’ll see exactly what your camera “sees” on your phone screen, and you can click the “take photo” button on your phone!
Going from auto to manual
I actually just shot on auto for the first year having the D750, and things were great!
But then I decided to learn how to shoot manually, and I have to say, I love it so much more.
If shooting on manual freaks you out, try starting on aperture mode.
You can decide how blurry you want your background (a simplified way to look at the aperture), and your camera will automatically adjust the other settings. D750 is really a great camera both for beginners and those with a little more experience!
My lenses
I have three lenses in my camera gear:

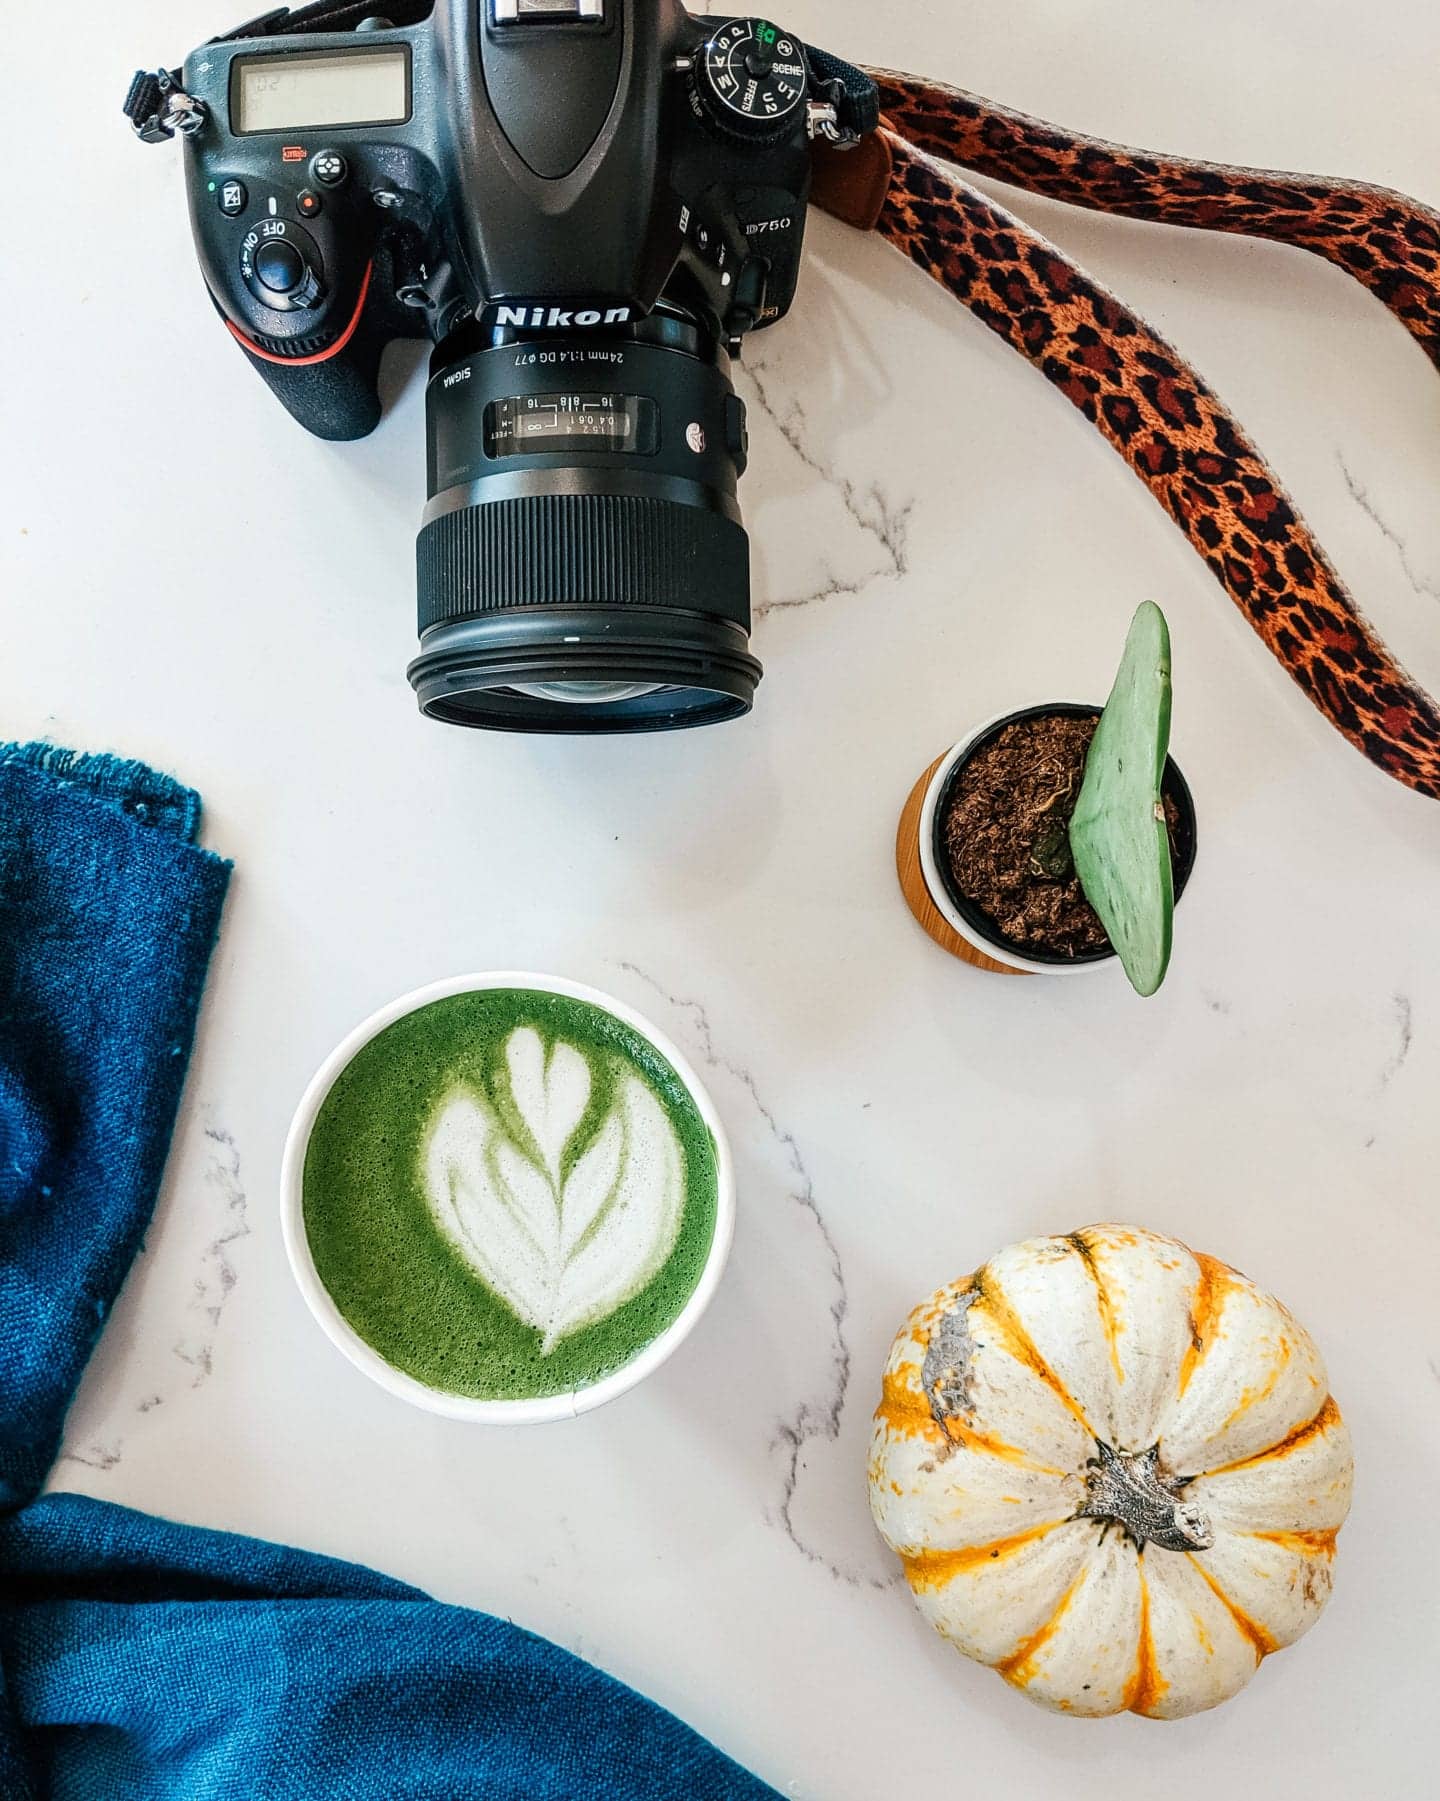
Sigma 24mm f/1.4
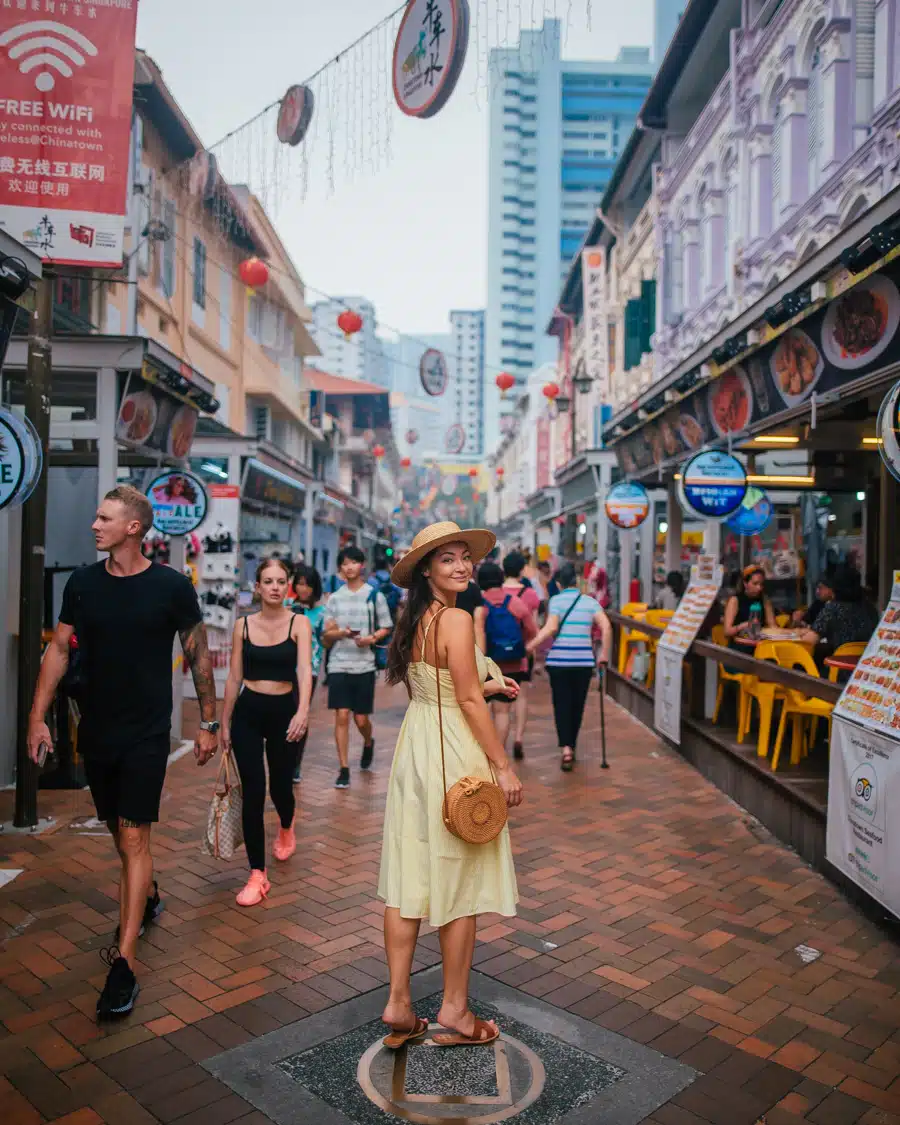
The Sigma 24mm lens is my go-to lens.
As long as I don’t need to zoom in and want to capture the full scene, I immediately go to this prime lens.
The reason why I love this so much is that it allows you to go all the way down to f/1.4.
What does that mean?
Well, you can focus on something in the foreground while getting an awesome bokeh (blurry background) effect.
For the first photo you see above of Chinatown in Singapore, I especially wanted a blurry background since the scene is so busy.
That way I’m the only thing in focus, and the rest of the busy scene is slightly blurred.
With a low aperture like this, you force your viewer’s eye to land on what you want. It’s a beautiful effect and I love it! It’s also great for its low-light performance, where you can shoot sunsets and sceneries even in low light conditions and still get a great photo.
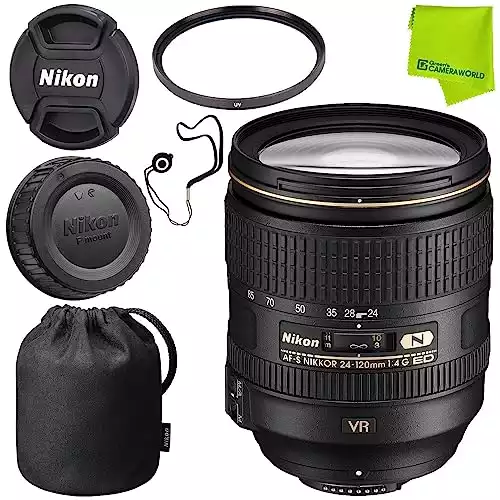
Nikon AF-S NIKKOR 24-120mm f/4

The Nikon AF-S NIKKOR 24-120mm f/4 lens came with my camera (though you can buy it separately here), and I use it whenever I want to zoom in on things.
Why zoom in?
When you zoom in, the background appears larger.
For example, if there is a mountain in the distance behind you, you can have your photographer back up and zoom in. That way you’re the same size but the mountain appears way bigger!
Even if you won’t want to zoom in, this lens is incredibly versatile, with a quick autofocus setting.
It has a very wide range of zoom, so no matter what you’re trying to take a photo of, whether close up or far away, this lens has the capability to pretty much do it all. It can capture all your amazing adventures in a fantastic way!
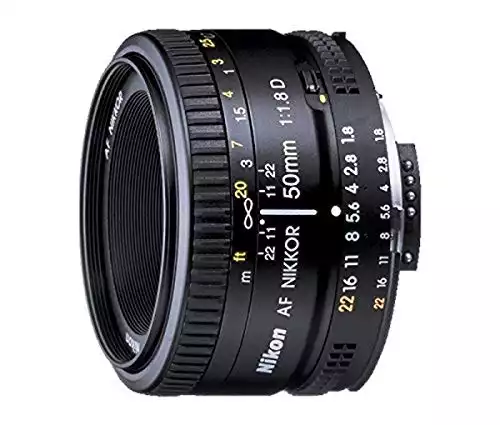
Nikon AF FX NIKKOR 50mm f/1.8
My NIKKOR 50mm lens comes last on the list just because I use it the least.
On the plus side, it is very cheap as far as lenses go (it’s under $150!!!) and is still a beautiful lens, which may make it attractive to entry-level bloggers.
But here’s the reason why I don’t use it that often.
With a 50mm lens, you’re already “zoomed in” as soon as you put the lens on the camera, so you or your photographer need to be further away to capture an image.
However, I do love that it goes to an aperture of f/1.8, so you can still get that blurry background effect!
Our drone
Oh, and we also love our drone, the DJI Mavic Air 2! It’s so portable and follows us everywhere!
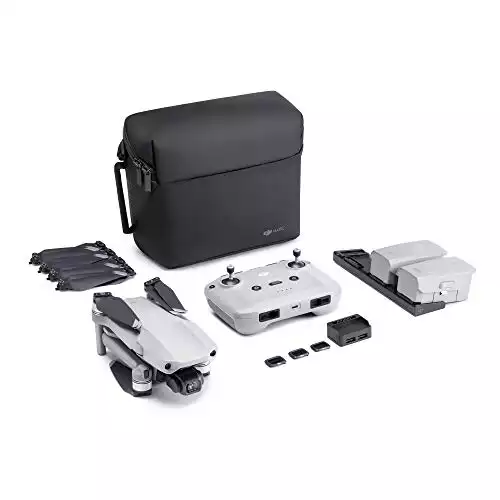
You can get some incredible shots with a drone, like this one!
The other gear
Here are the accessories in my camera bag that I use ALL the time, followed by my completely honest review of each!
- Tripod
- Extra batteries
- Hard drive
- Underwater phone case
- Waterproof camera jacket
- SD cards
- SD card importer
- Micro SD cards (for the drone)
- Cell phone wide-angle lens
Shop my gear

Tripod

I actually started off with this cheaper tripod, just to have one.
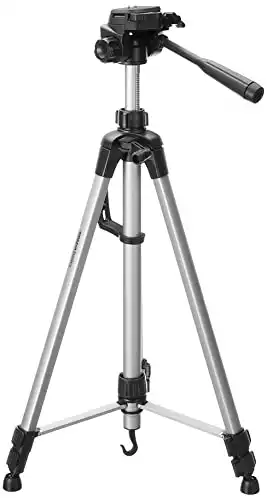
I then learned that I needed a vertical attachment. Oh, and that it was too big to travel with. It also is super light, which isn’t ideal for heavy cameras.
So then I bought this tripod, which I LOVE.
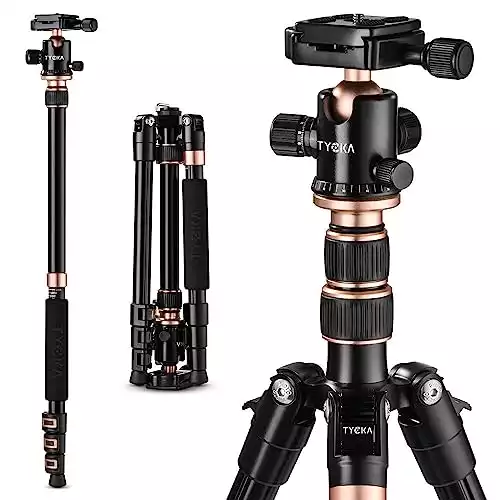
It’s compact, sturdy, has a built-in “vertical photo” mechanism, and fits in my suitcase!
So learn the lesson from me: If you don’t want to waste money, just buy quality products from the get-go to save money in the long run.
Extra batteries
Battery life is important for us travel photographers! You definitely don’t want to be in a great location with fantastic lighting conditions to take photos, only to find your battery dead – and you don’t have a spare in your pocket!
I don’t swear by these because they don’t last as long as the Nikon battery that came with my camera, but extra batteries are always a must and these do the trick.
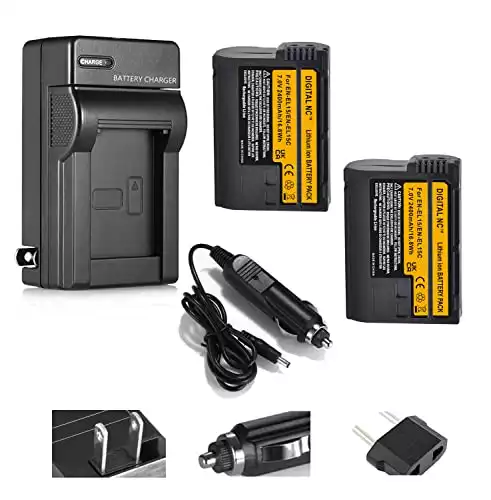
They are affordable and great to have on hand.
Hard drive
If I didn’t have a hard drive, I would’ve run out of space on my laptop a long, long time ago.
Fortunately, this reliable hard drive has great reviews on Amazon and I have used it every week for the past year.
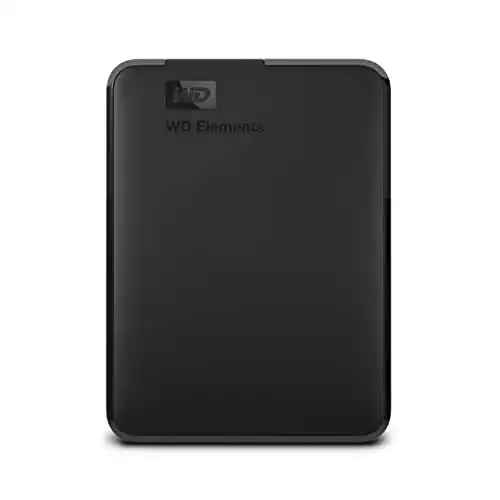
It still works great (knock on wood) and stores my photos and has plenty of room (I got the 4TB size! I take LOTS of photos – thousands on each trip!).
Underwater phone case
These are not the greatest underwater phone cases but they are nice to have on hand (and in your backpack) if you’re heading to the beach and hope to catch some underwater footage.
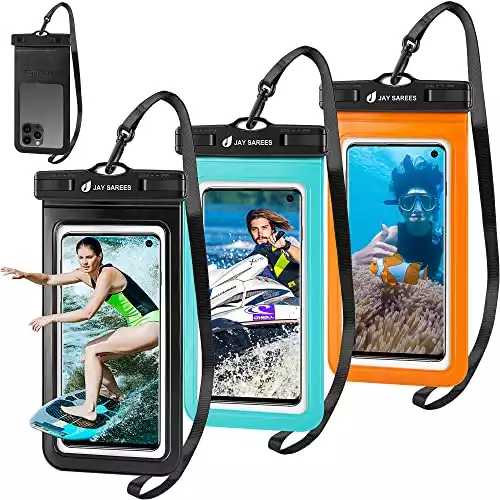
They’re also super cheap.
So they’re in my travel camera case anyway because you never know when they’ll come in handy!
Waterproof camera jacket

I learned that this waterproof camera jacket is a MUST if you go chasing waterfalls in Iceland.
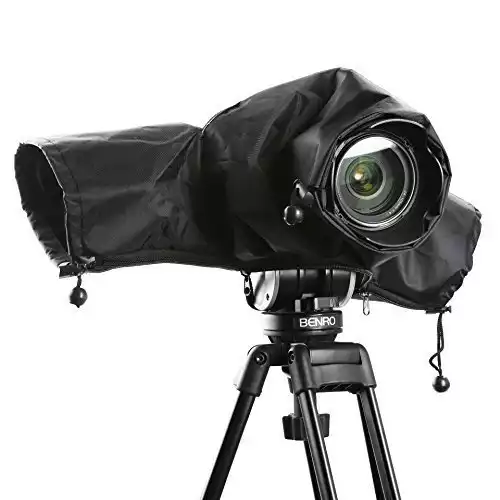
Yeah, that’s a pretty specific scenario, but that is when I’ve used this thing the most.
I also used it in Puerto Rico when we went into the rainforest.
When it comes down to it, it’s really handy during travels if you’re heading somewhere rainy or with waterfalls.
Or if you just like to take photos out in the rain.
Protect your gear! You’ve spent a lot of money on it, so don’t let water affect it!
SD cards
You gotta have SD cards to go with your camera!
I have one big SD card and two smaller ones – not by design, it just ended up that way.
But my main SD card is this 128GB SD card.
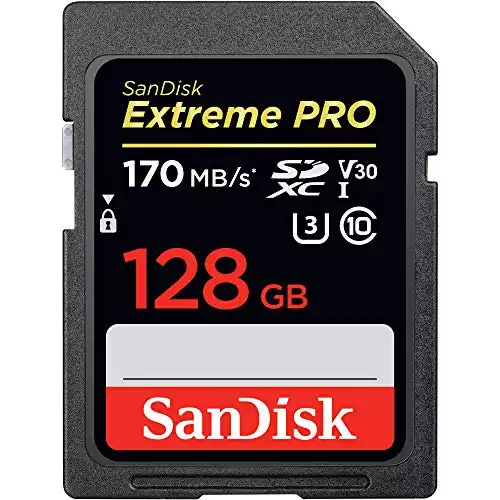
It is reliable and has 4.8 stars on Amazon with over 154,000 (!!!) reviews. That’s why I chose it, and it has been awesome for over 2 years now!
SD card importer
If your laptop doesn’t have an SD card slot, you’ll want to get an SD card reader.
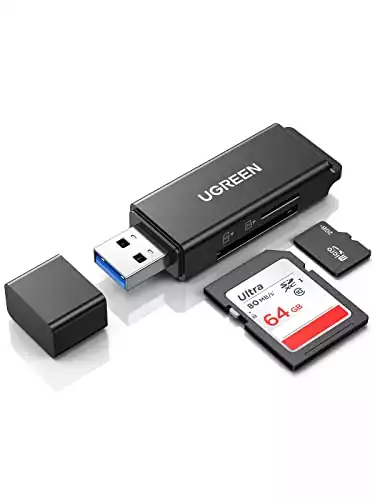
This one is fast and reliable.
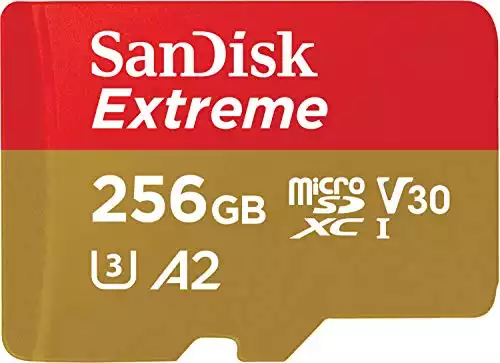
Micro SD card
This Micro SD card is on my list because we use it for our drone; it is not necessary if you’re just shooting on the Nikon D750.
Wide angle lens for phone
If you don’t have a wide-angle camera option on your phone, then I highly recommend this wide-angle lens attachment.
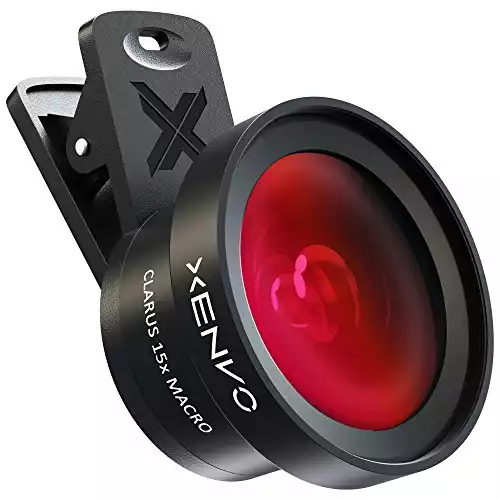
I use it primarily for my vlogs to take wide-angle selfie-style videos so that my face isn’t the only thing you see when I’m talking – you can see the background as well. And the video quality is all right, too!
Shop My Gear
Click on any of the products here to shop directly through Amazon!

In conclusion…
That’s pretty much it for my camera gear!
I hope you can see why I have all of this “stuff.”
It’s been incredibly valuable to my business and I don’t know if I’d be able to be a full-time travel blogger without that initial investment in my camera!
If you have any questions, let me know in the comments below!
Safe travels and happy blogging!
Jasmine
P.S. If you found this post helpful, please share it to Pinterest! Here are some images for easy pinning, or you can click on the Pinterest button to select an image!


13 Responses
Hi Jasmine!
I have always liked your photography. This post revealing your gadgets was really helpful. Excited for more such content. Thanks a lot.
Thank you so much for this informative content and your shots are beyond words. I have shortlisted some of the best DSLR cameras. Do visit this may help you to buy the best one.
nice post
Thank you so much for your post. It is so very informative. I m a new travel blogger and am loving photography!!! Stay safe in your travels.
I’m so glad to hear it! Thanks Danielle! Best of luck with travel blogging and photography! Save travels!
I have enjoyed reading your article, so I felt I would comment to tell you. Cheers for taking a moment to write. Thank you!!
Nice post. I used to be checking constantly this blog and I am inspired!
Extremely helpful info specifically the remaining phase ???? I deal
with such information much. I used to be seeking this certain info for
a long time. Thank you and best of luck.
Looks amazing thanks for sharing blog with us
very nice post
Thankyou for sharing such amazing blog with us , keep sharing with us .
Thanks Alicia!
good
The United Service Organizations (USO) lounge at Newark Liberty International Airport (EWR) is a valuable resource for military personnel and their families traveling through the airport. As a branch of the nonprofit organization, the USO lounge at EWR aims to offer a welcoming and supportive environment for service members, veterans, and their loved ones.
Located within the airport, the USO lounge provides a wide range of amenities and services to military travelers. These include comfortable seating areas, internet access, charging stations, and complimentary snacks and beverages. The lounge is a place where service members can relax, recharge, and connect with others who share their experiences and backgrounds.