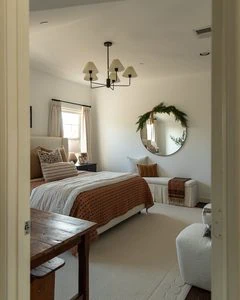
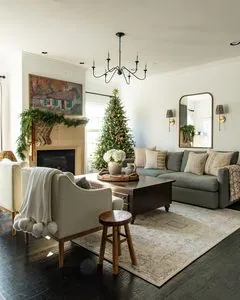
I love vintage Christmas decor that feels as though it has been gathered over time: slightly mismatched glass ornaments, straw stars, vintage kilim stockings, and greenery tucked into unexpected places. I wanted Christmas to feel like a more magical version of our house with that nostalgic Christmas aesthetic.
The funny thing is that this is actually one of the easiest decorating styles to recreate affordably. Nothing needs to match perfectly. In fact, it looks better when it doesn’t.
Below, I’m sharing our full vintage Christmas home tour to hopefully inspire you in your own home!
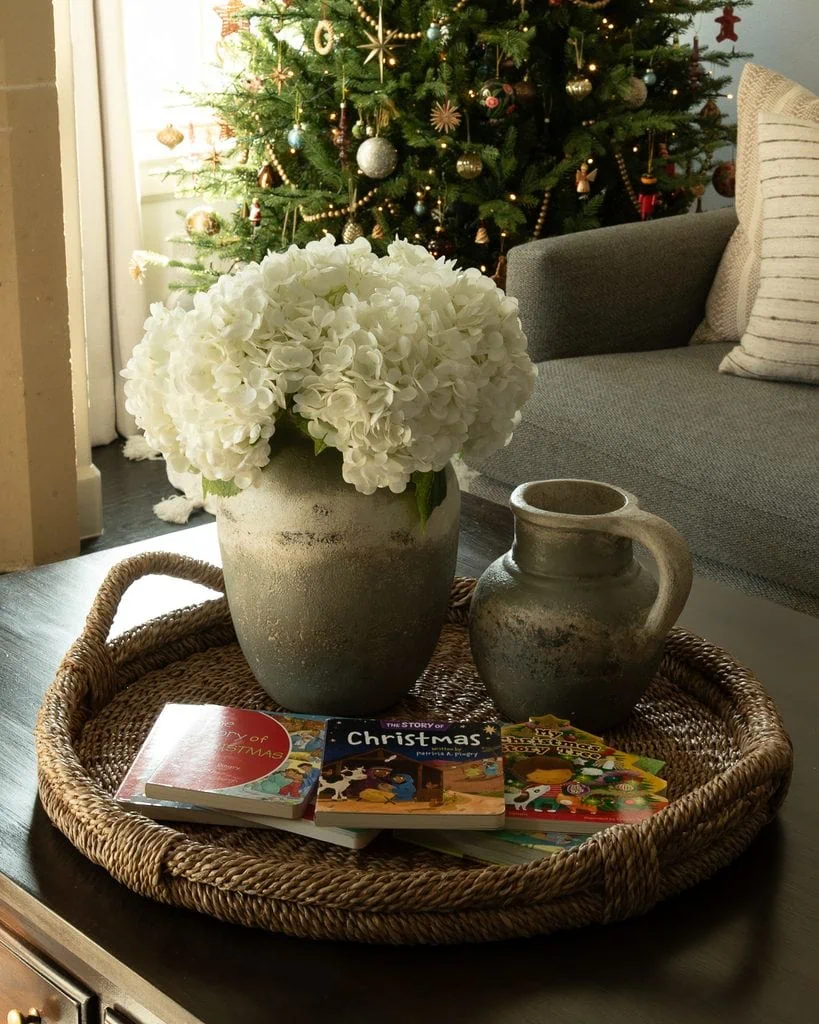
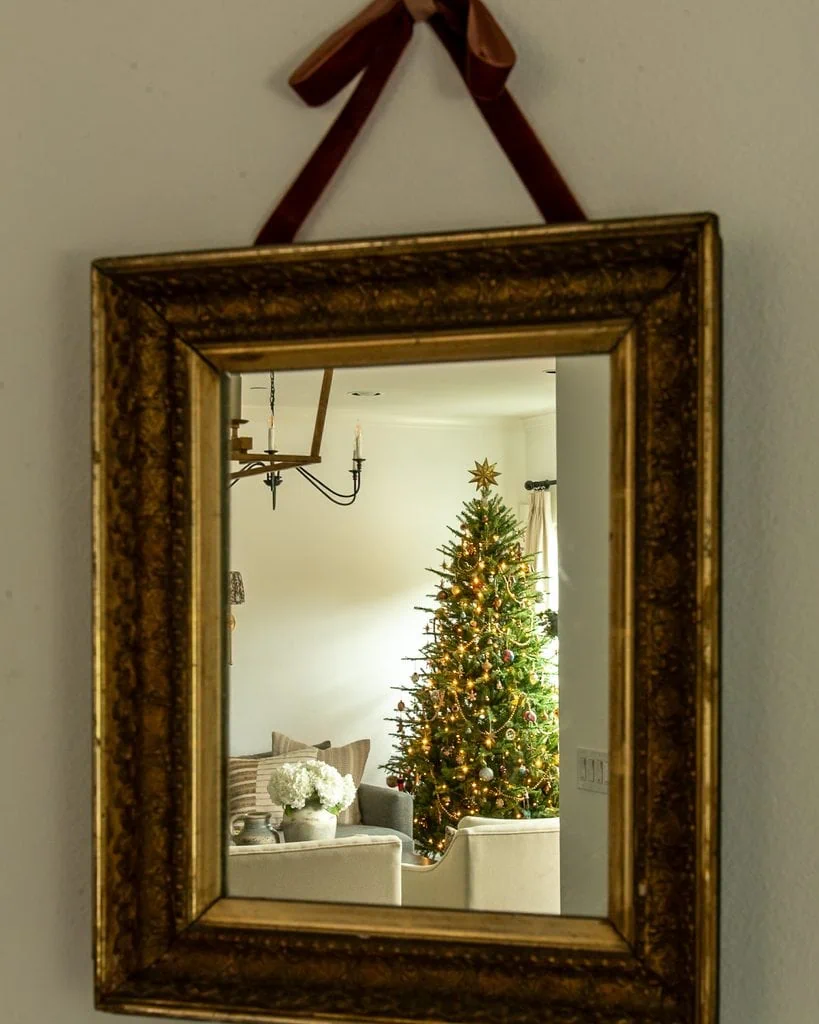
I wanted our Christmas decor to have the collected, old-world look I loved in the Shoppe Amber Interiors Christmas shop—but without the price tag. Every ornament on our tree is an affordable lookalike I found elsewhere; I’m linking every designer Christmas decor dupe I used.
This post contains affiliate links, which means I may earn a small commission if you purchase through one of my links, at no additional cost to you. As always, I only share pieces I genuinely love or would use in my own home.
Vintage Christmas Decor: Key Takeaways for a Nostalgic Christmas Aesthetic
- Start with realistic faux cedar. It made the biggest visual difference in our house, and I can reuse it every year.
- Choose a palette, not a matching set. Ours includes olive and forest green, rust-brown, burgundy, cream, aged brass and natural wood.
- Mix ornament styles. Glass ornaments, straw stars, folk-painted balls and wood bead garland make a new tree feel collected.
- Repeat materials in different ways. I used the same faux cedar and brown velvet ribbon from room to room, but changed the shape and placement.
- Let one small color wake everything up. The red in our vintage train set adds just enough contrast to an otherwise muted palette.
- Spend where it shows. Good garland covers a lot of visual space. Small accents like ribbon, village houses and bottlebrush trees can be inexpensive.
1. A Collected Christmas Tree with Mismatched Ornaments
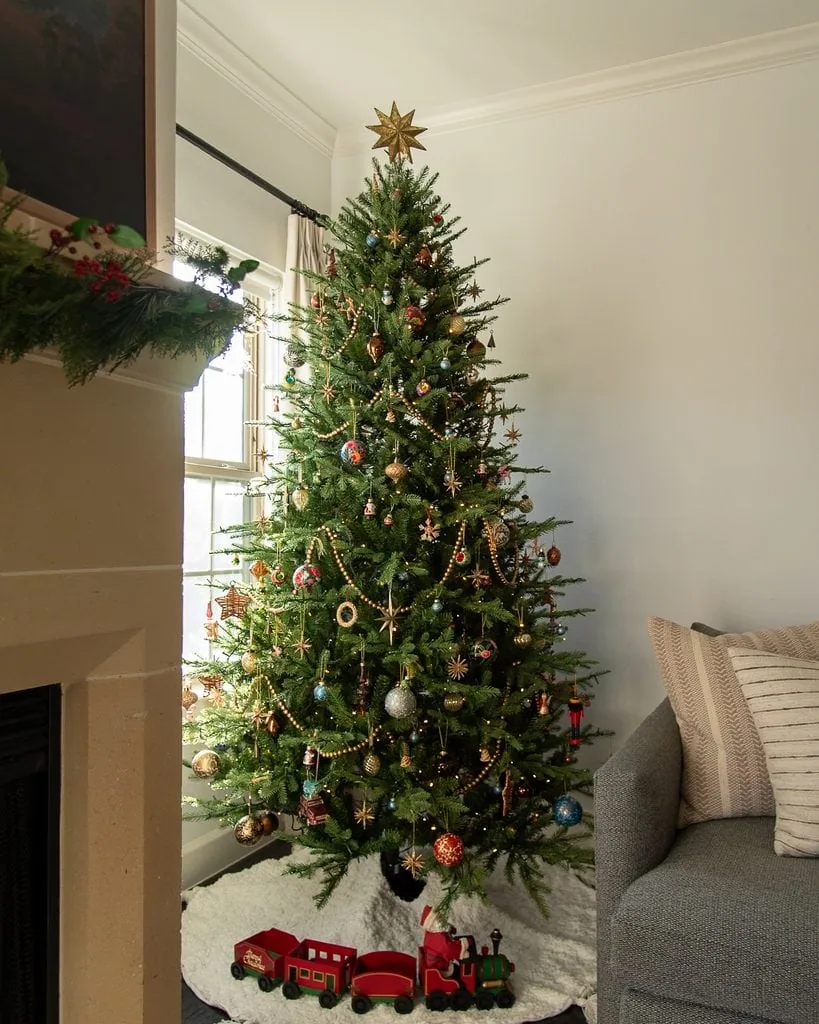
Our tree is where the vintage Christmas decor really comes together. On our viral realistic faux Christmas tree, I used a mix of:
- antiqued gold glass ornaments
- tiny jewel tone vintage glass balls
- nostalgic painted santa and snowman ornaments
- assorted Scandanavian straw ornaments
- folk-painted balls
- wood bead garland
- mini glass balls
A vintage Christmas tree is honestly the easiest Christmas look to recreate affordably, because mismatched by definition can’t be wrong. You don’t need twelve identical boxes of ornaments. You need a few colors and materials that relate to one another.
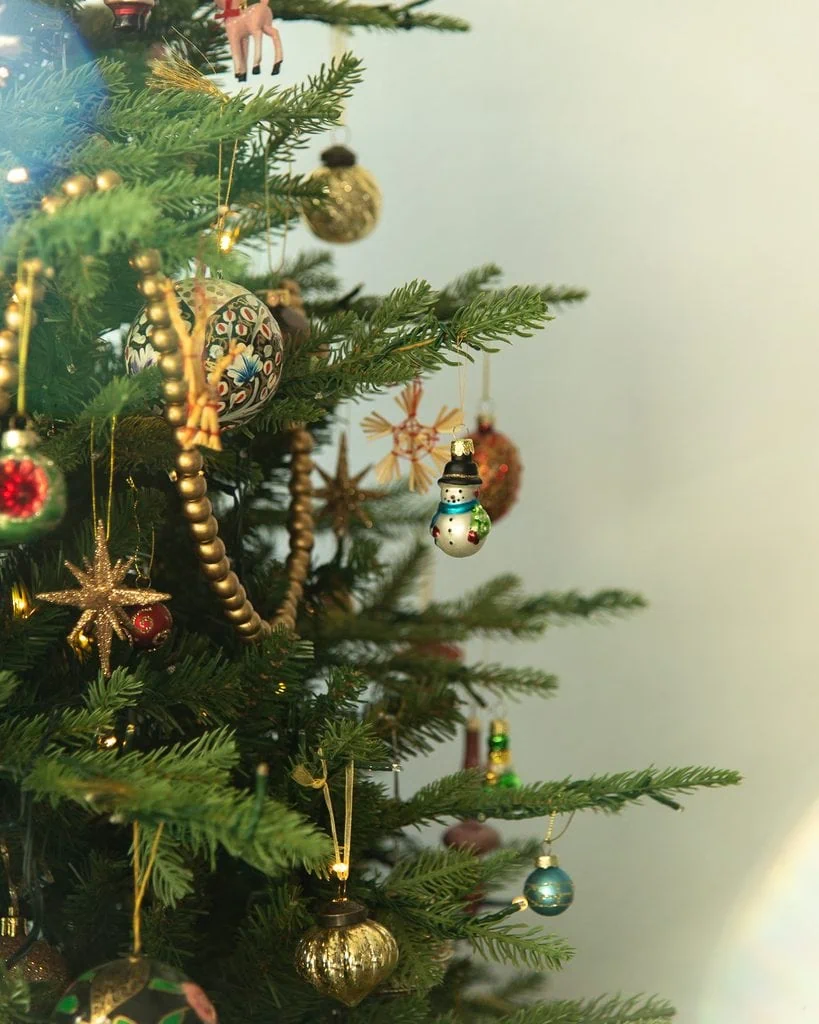
I kept ours within a jewel-toned yet earthy palette. Some ornaments are shiny and some are matte. Some are delicate and some look handmade. The repetition comes from the colors, not from buying multiples of every exact ornament.
The wood bead garland is the perfect base. I layered it in first so that I could drape it deeply into the tree without knocking ornaments around. Next come the largest glass ornaments, spaced around the whole tree. Then I fill the gaps with the straw stars and smaller painted ornaments.
The goal isn’t perfect spacing. I actually think the tree looks better when one area has a small cluster and another has a quieter branch.

My mother-in-law also found a vintage train set that she gifted to us, and it may be one of my favorite additions. It gives the room an immediate nostalgic Christmas aesthetic, makes the tree feel especially magical for the kids and adds a small pop of red to our otherwise earthy palette.
I love that red specifically because it isn’t repeated everywhere. It works almost like punctuation: a small, saturated color that wakes up all of the quieter olive, brown, brass, and subtle jewel tones around it. It’s a perfect example of something I talk about in my guide to color theory in interior design.
2. The Faux Cedar Garland That Made the Whole House
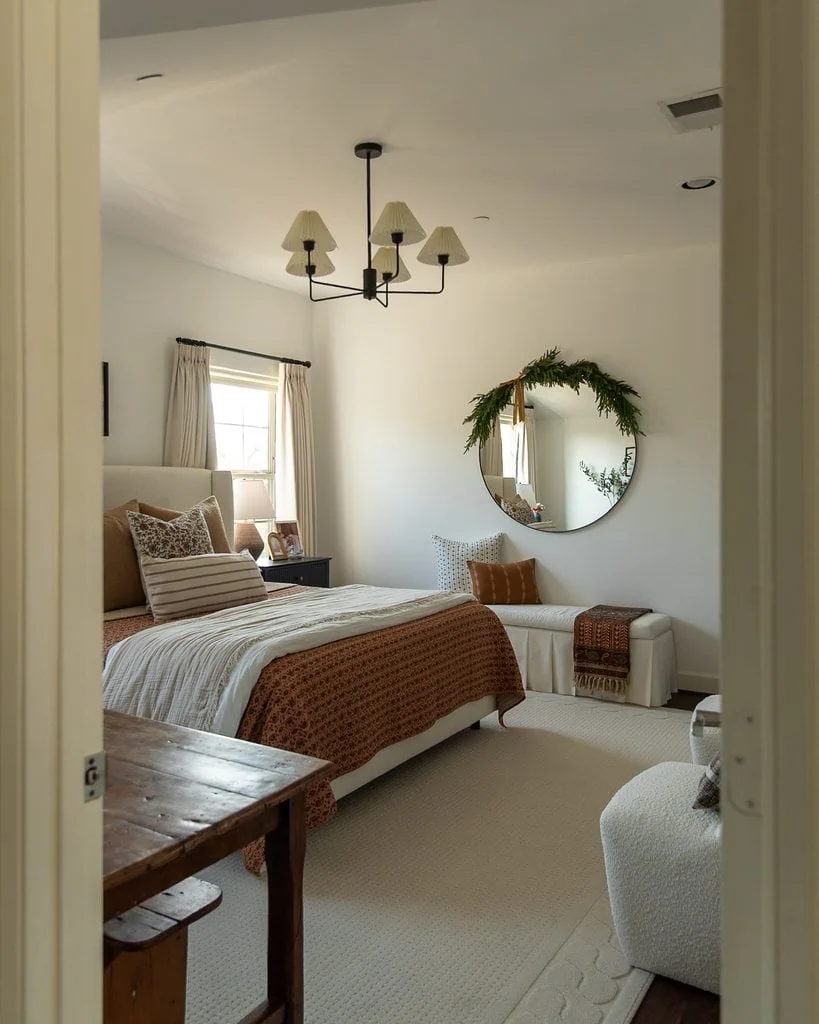
These faux cedar branches appear in almost every room, and it is the piece people are most surprised to learn isn’t real.
Good faux greenery and bad faux greenery are not even in the same category. The convincing kind has mixed needle lengths, visible wood-look stems, a matte finish and wired branches you can bend. The branches shouldn’t all sit at the same angle, and the greenery shouldn’t be one solid shade of bright green. A little variation is what keeps it from reading as plastic.


I use multiple layers of branches anywhere I want the garland to look especially full, including the mantel. Instead of placing one directly on top of the other, I overlap them slightly and pull individual branches in opposite directions. Then I bend some tips forward, some upward and some down over the edge. That irregular shape is what makes the garland look loose and natural.
One more thing: don’t judge it straight out of the box. It arrives compressed. Give yourself a few minutes to separate every branch before deciding whether it looks realistic. Fluffing is not the fun part, but it is the difference between “faux garland” and “wait, that’s fake?”
3. The Mantel and Christmas Stockings

The mantel is the fullest garland moment in the house, so I let the rest of it stay fairly simple. I layered two strands of garland, pulled the branches apart and let the ends fall naturally instead of making both sides perfectly even.
The vintage kilim stockings bring in pattern without adding a loud new color. They are literally Turkish rugs that have been made into stockings and I am obsessed!
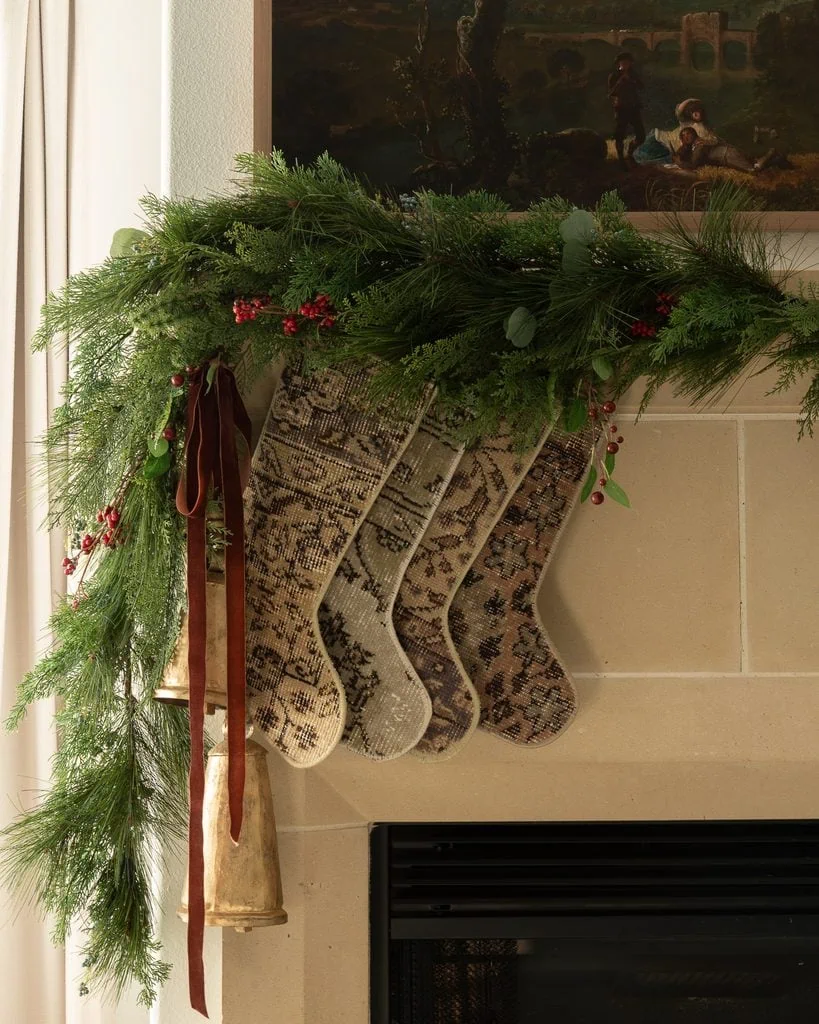
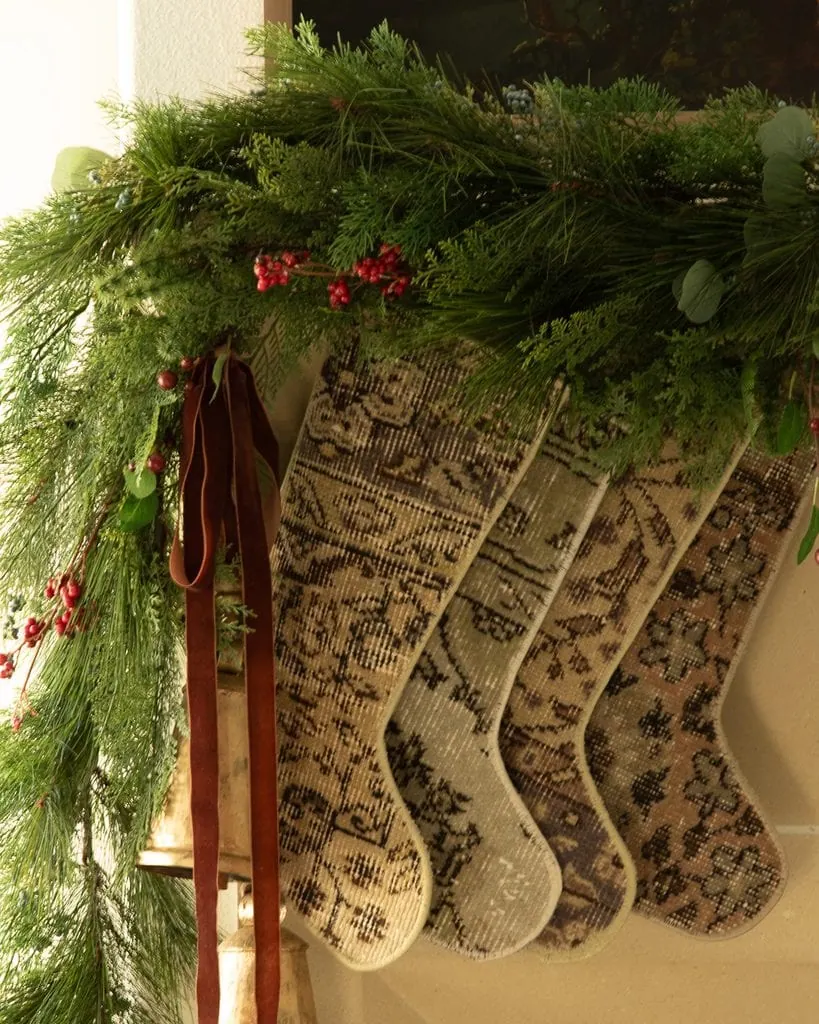
Brown velvet ribbon ties back to the ribbon on the tree and gives the greenery a softer, more old-fashioned texture. And these huge vintage cowbells pull it all together.
Together, those three things—brass bells, kilim stockings, and velvet bow—do all the work.
Side note: My husband insists we must space out the stocking evenly, but I feel like keeping the stockings on the left balances out the christmas tree on the right! It’s one of our biggest disputes in marriage (joking, but also not joking)!!
4. Where I Hung Christmas Garland Besides the Mantel
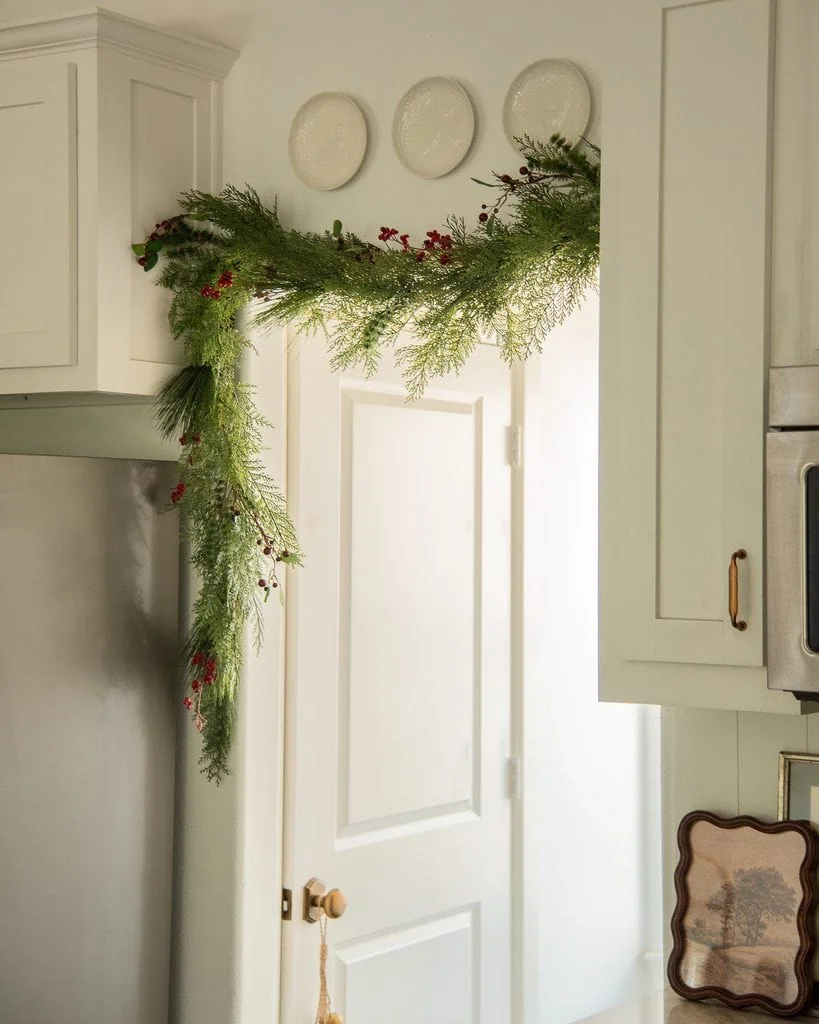
Garland on a mantel is classic, but I wanted greenery in every room! So I draped garland asymmetrically over round mirrors, laid it across the top of framed art in James’s room, and rested it above the plate rack in the dining room.
I also used matching wreaths around our windows and on the stair landing, ran it over the upper kitchen cabinets, tied small wreaths to the counter stools, and more.

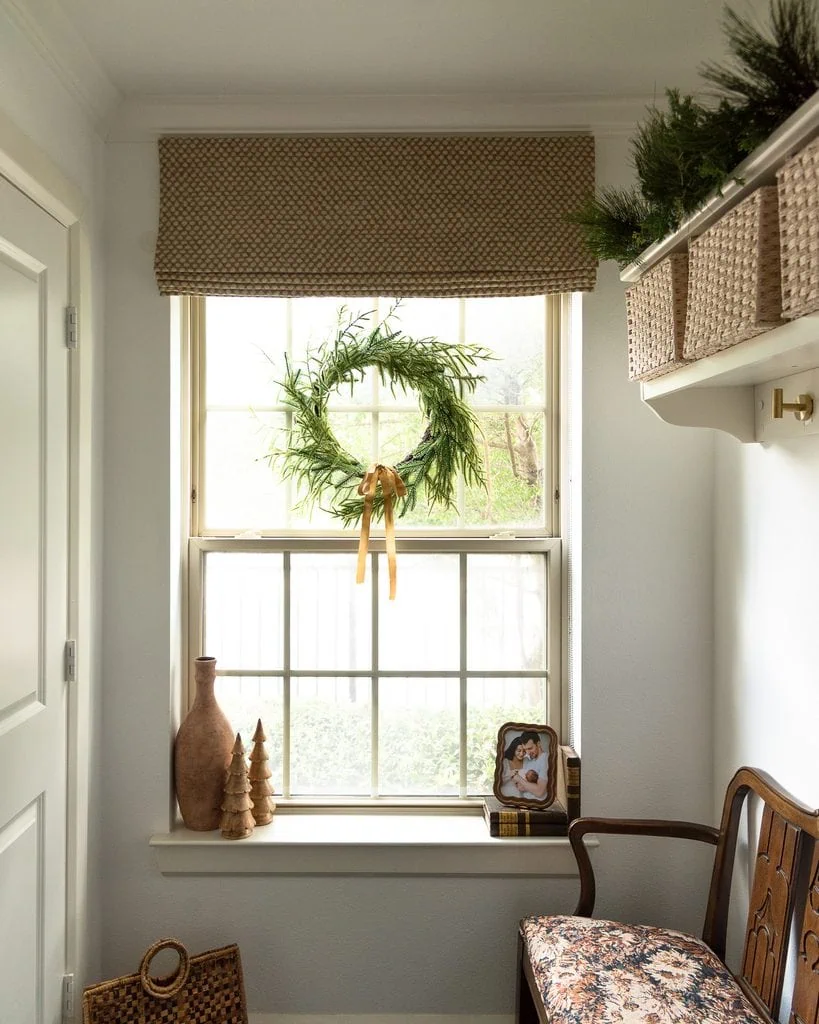
Hanging a wreath in a window is easy with these suction hooks!
Repeating the same faux cedar and camel-colored velvet ribbon in different shapes made the rooms feel connected without making the house feel as though I bought one Christmas collection and placed it everywhere.
I shared all nine placements, along with the easiest ways to secure each one, in 9 Places to Hang Christmas Garland That Aren’t the Mantel.
5. Vintage Christmas Decor in the Dining Room
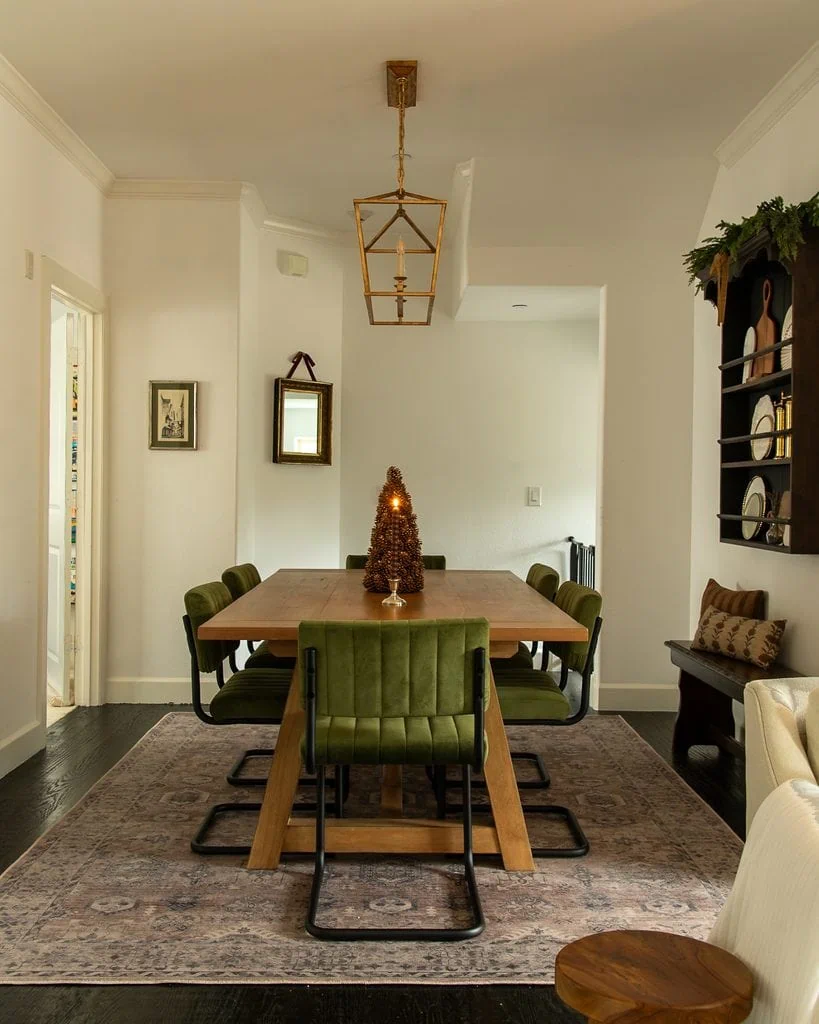
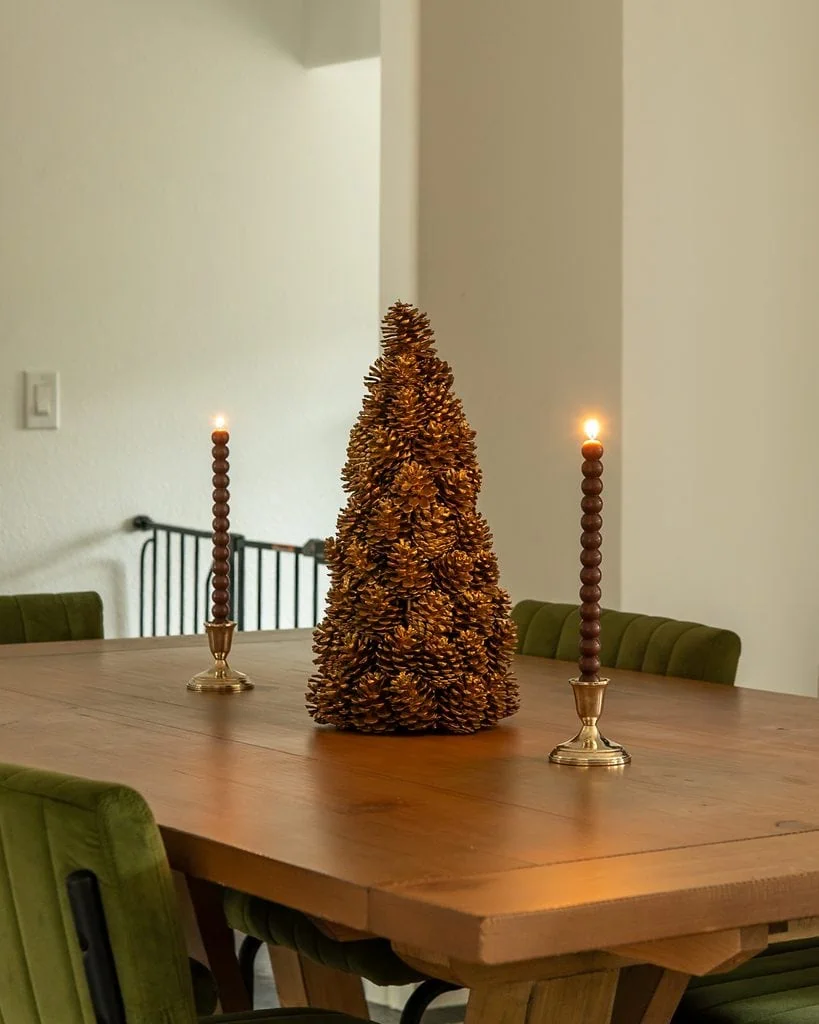
Our dining room already has green velvet chairs, dark wood, mismatched plates and collected art, so I didn’t need to reinvent it for Christmas. I added a simple centerpiece with a vintage pinecone Christmas tree (gifted by my wonderful mother-in-law) and candles in silver bases. These are the candlesticks I used… I adore their aesthetic but they do break easily!

I finished it off by resting cedar along the top of the antique plate rack.
The plate rack itself is symmetrical, even though the way I decorated it is not, so I centered the garland and tied ribbon directly in the middle. That small bit of order keeps all of the mismatched pieces underneath it from feeling busy.
6. Vintage Christmas Decor in the Kitchen

The kitchen used to be one of the biggest gaps in my Christmas decorating. I didn’t want to sacrifice the counters we actually use, but without anything festive above them, the room felt disconnected from the living and dining spaces around it.
The open space above our cabinets ended up being the answer. This is the one time that having cabinets that don’t extend to the ceiling actually works in my favor!
I draped faux garlands loosely across the upper cabinets and let a few branches fall slightly lower instead of forcing it into one perfectly straight line. The greenery draws the eye upward and softens a room filled with cabinetry, stone and other hard surfaces.
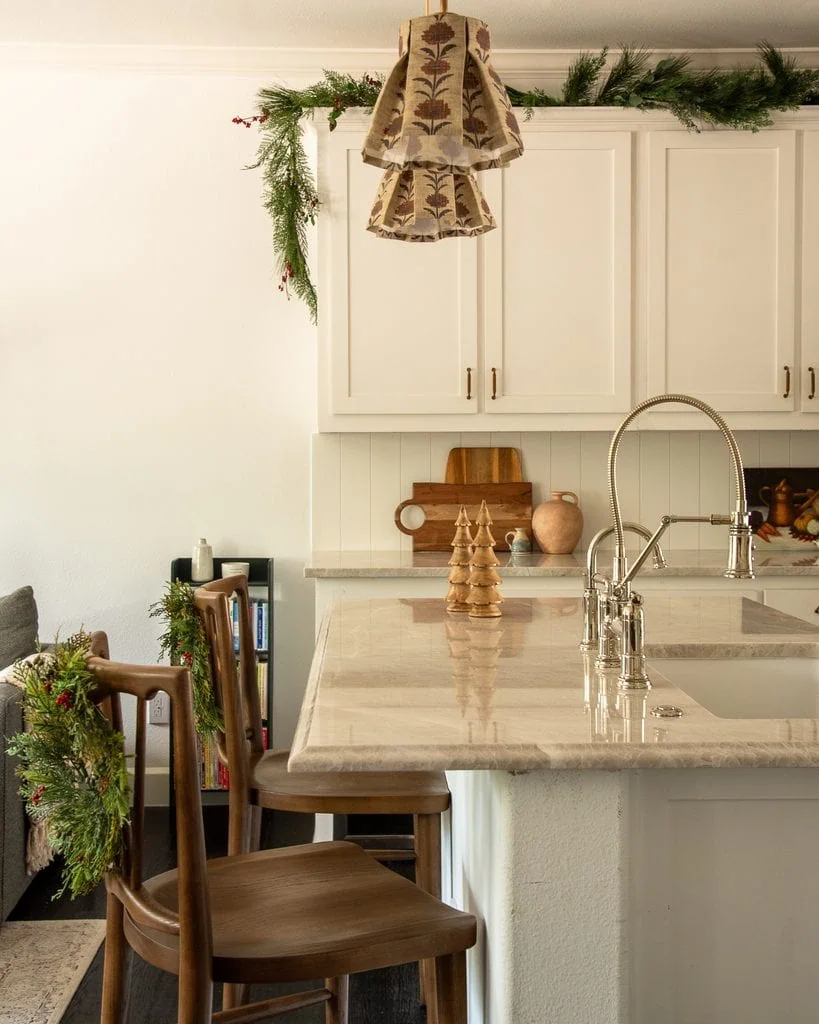
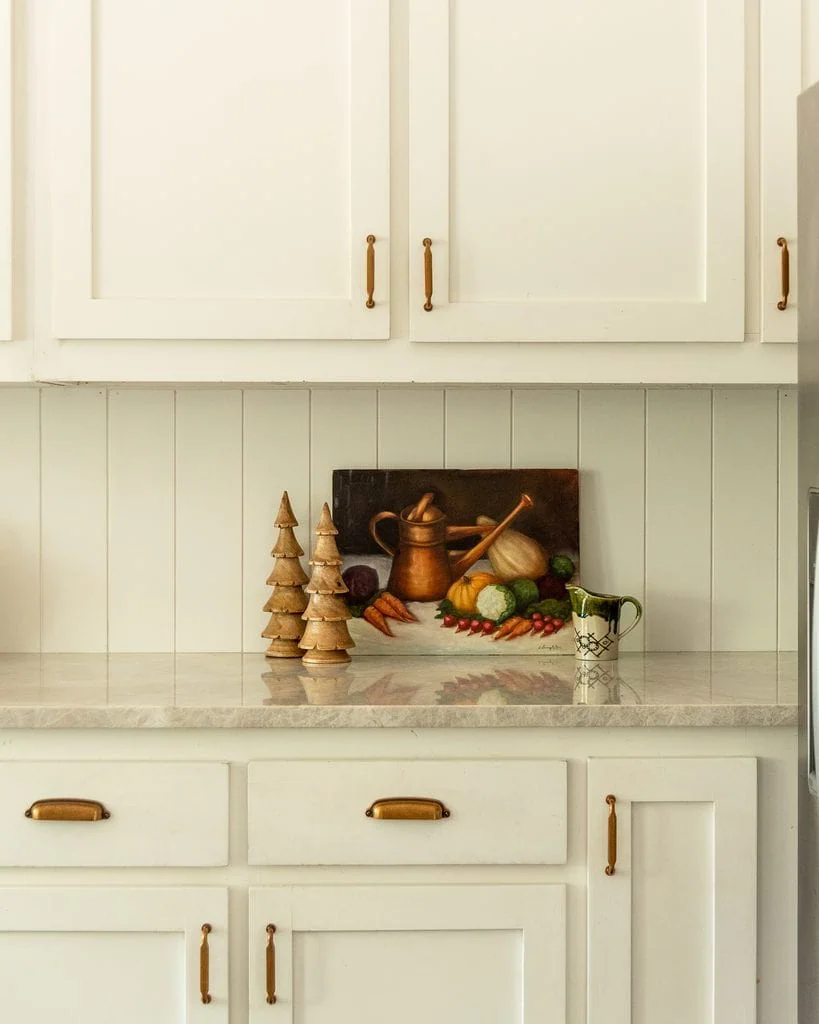
I also hung a small wreath on the back of each wooden counter stool with this thin velvet ribbon. I chose 12″ wreaths to keep them proportional to the stools so they wouldn’t get in the way when someone sat down.
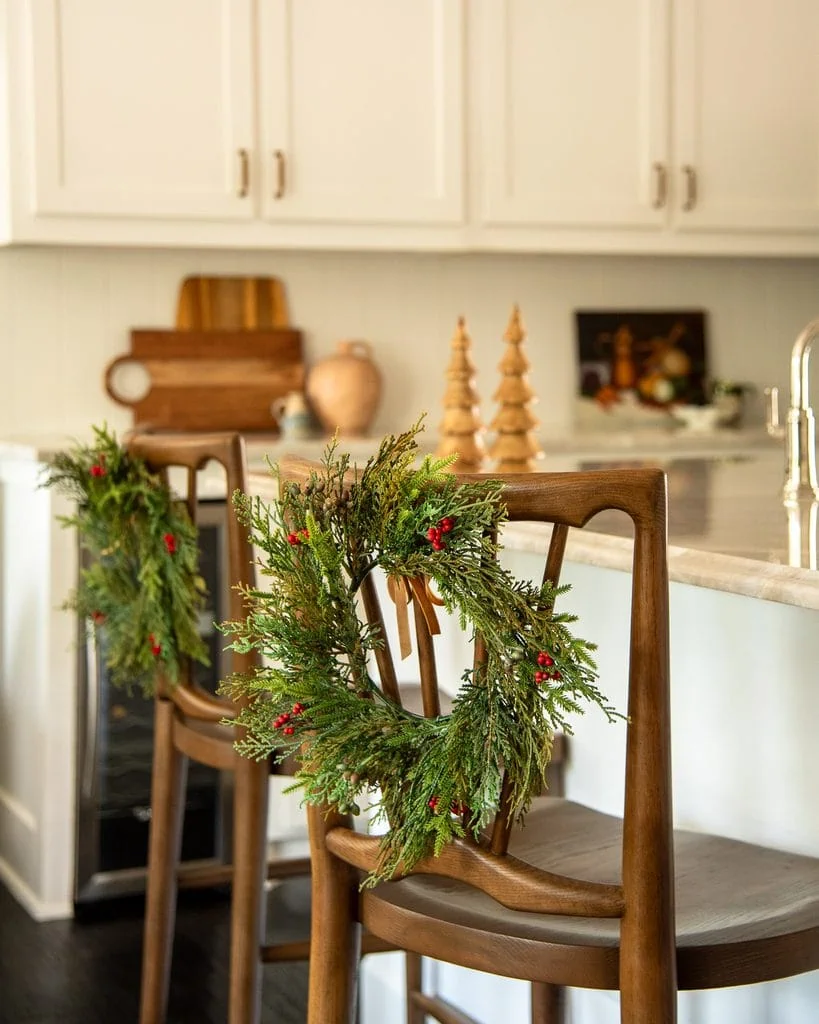

Because this is a kitchen we constantly use, I was careful to keep the garland away from the stove, small appliances, vents and anything else that produces heat. I also secured it in several places so opening a cabinet door couldn’t pull an entire section down.
(That second precaution comes from experience: Harrison once opened a cabinet and accidentally brought a whole piece of garland down, then dramatically said his life flashed before his eyes. 🙄)
7. Christmas Decor in Our Entryway and Mudroom
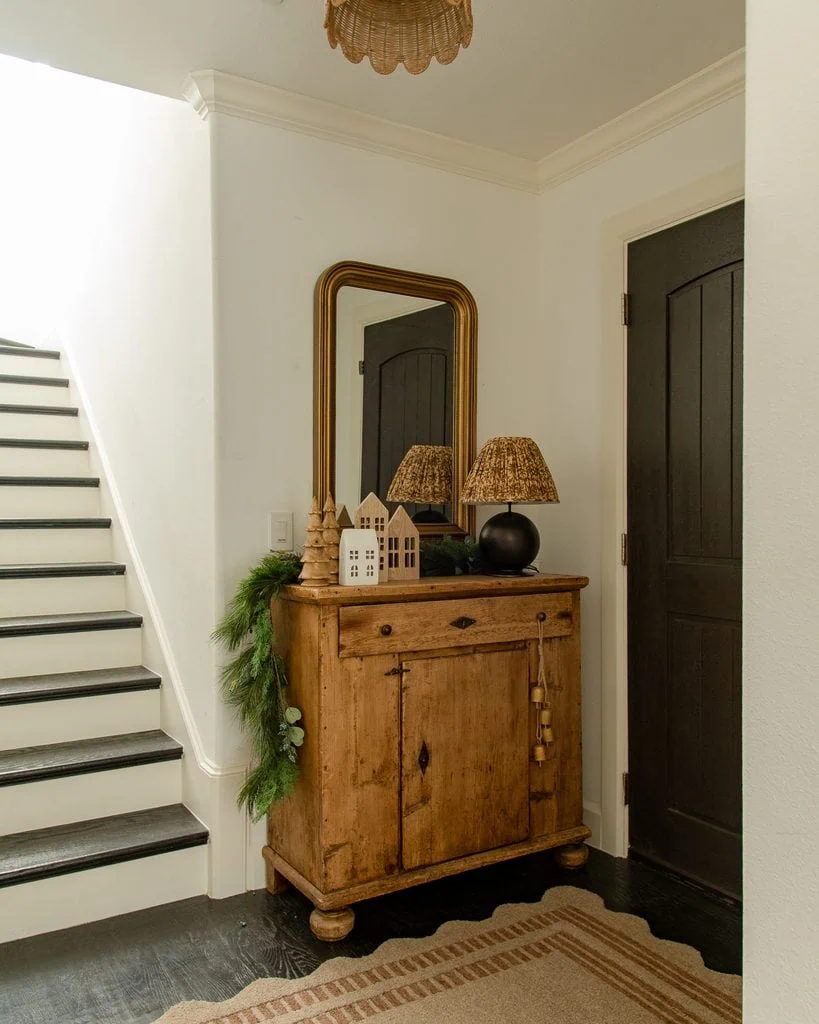
The entryway is where the collected feeling of our Christmas decor makes the most sense, because the furniture already has so much history. Our credenza is a 19th-century antique pine cabinet, so even brand-new faux greenery feels a little older and more storied once it is layered against the wood.
I laid cedar across the surface first and then nestled the smaller Christmas decorations into it and hung some vintage cow bells. The greenery fills the gaps between separate objects and makes everything read as one arrangement instead of a row of little things lined up on a cabinet. I varied the heights and let the garland spill over one edge rather than centering every piece perfectly.
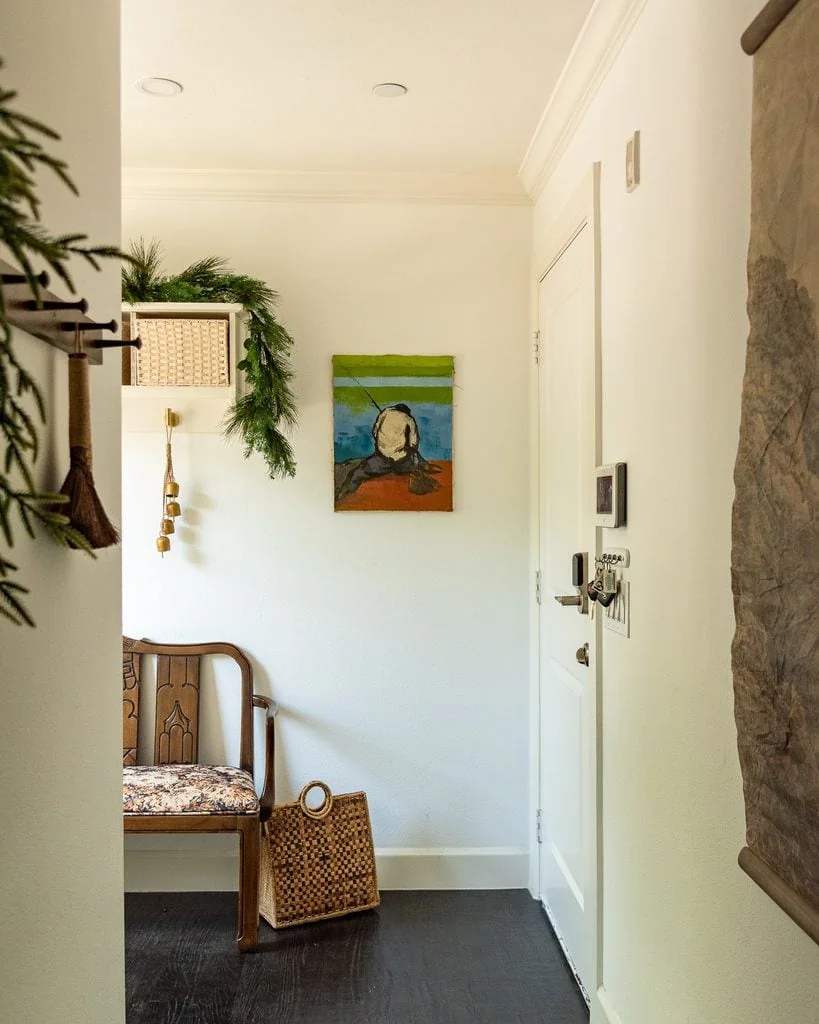

In the mudroom area, our antique bench already brings warmth and character, so I didn’t want to bury it under Christmas decorations or lose the seat completely. Instead, I decorated vertically around it: a wreath hangs in the window, while faux cedar dresses up the entry storage unit beside it. I hung a second pair of these antique cow bells above it for added charm.
Those old pieces are a big part of why the Christmas decor looks connected to our house instead of temporarily layered over it. You can see the rooms without their holiday layer—and more of the mix of antiques and newer pieces—in my modern traditional home tour with English cottage vibes.
8. Christmas Bedroom Decor for Kids

In James’s room, I wanted Christmas decor that felt magical and will become nostalgic for him when he looks back on his childhood Christmases.
Since every room needs a garland (in my opinion), I laid cedar loosely across the top of the framed art above his bed. I secured it with velvet ribbon and let a few tips fall over the upper corners.
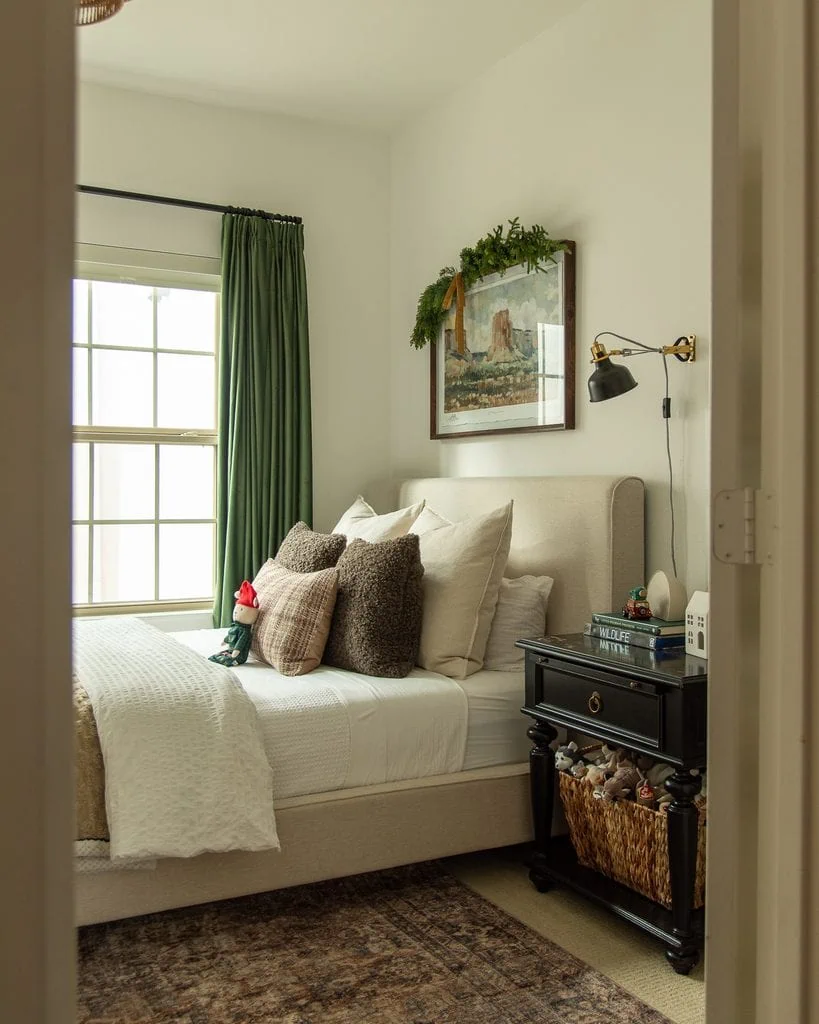

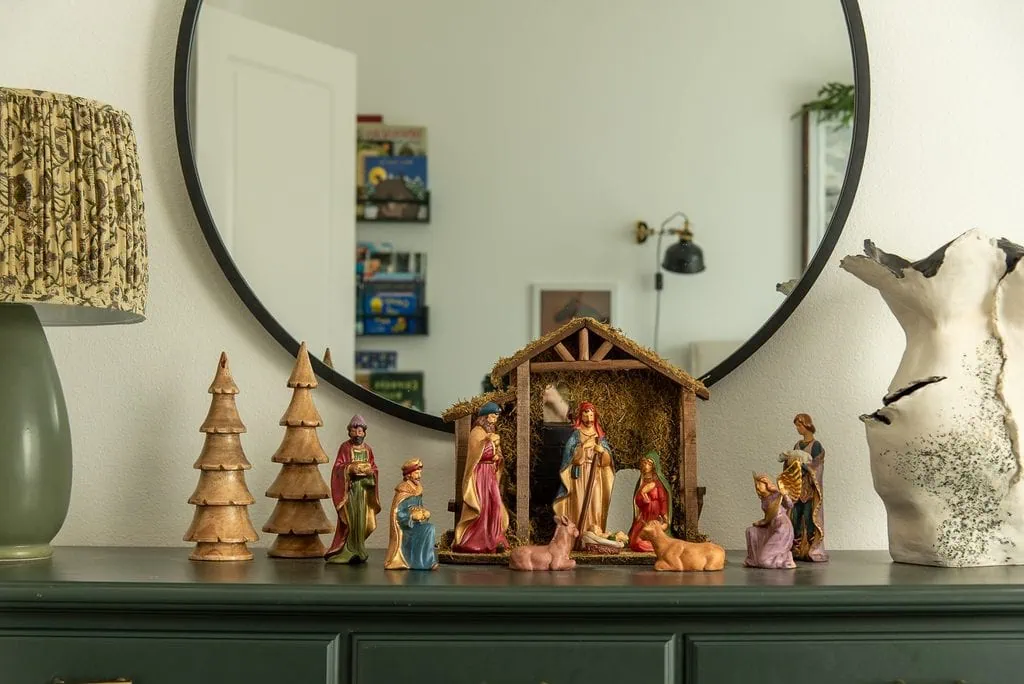
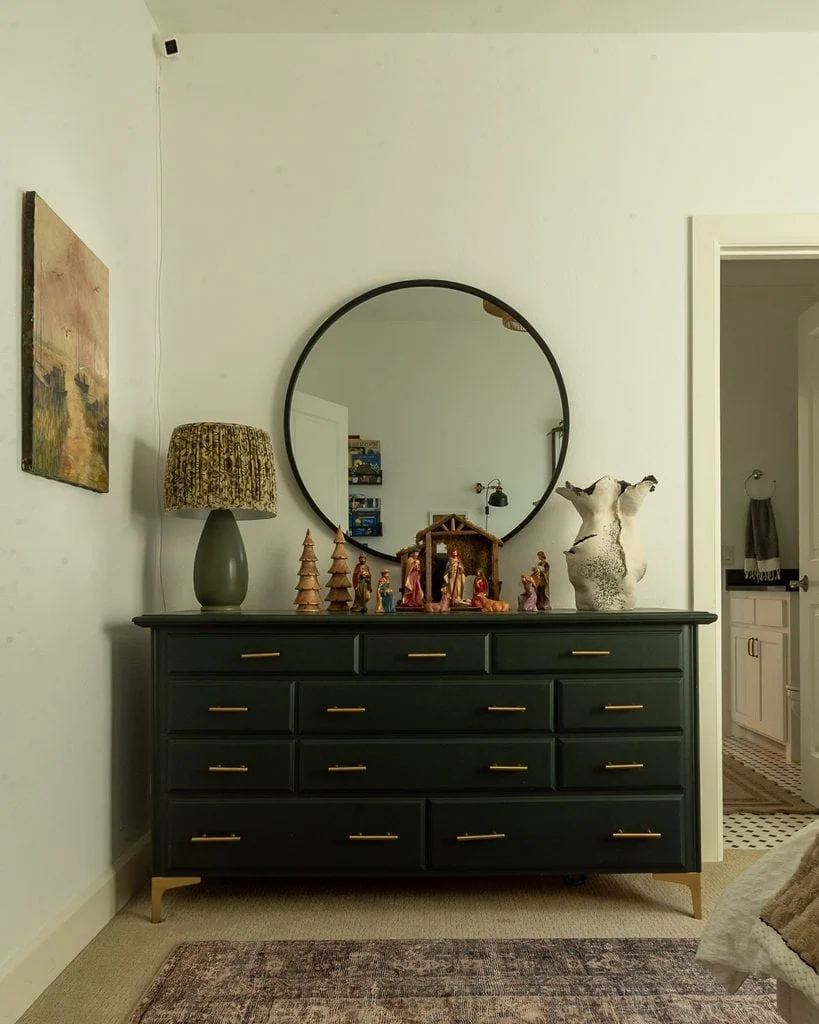
I found this vintage nativity scene at an estate sale down the street, and love how the jewel tones are a nod to the jewel tones on our Christmas tree:
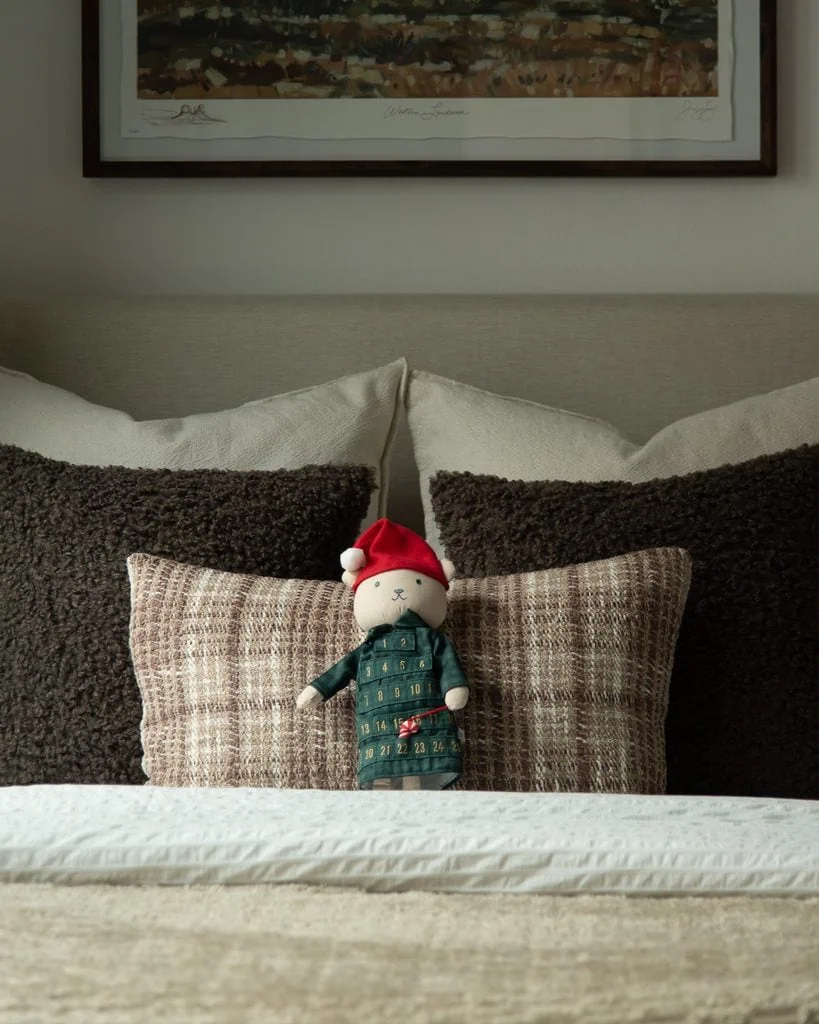
A cluster of little village houses on the nightstand and a soft Christmas countdown bear make it clearly Christmas, but the room still feels calm enough for bedtime. I like children’s holiday decor best when it feels storybook-ish rather than theme-y.
And though I forgot to take photos of it, I also hung ornaments on each of the doorknobs in his room for a little extra whimsy.
9. How I Recreated the Shoppe Amber Interiors Christmas Look
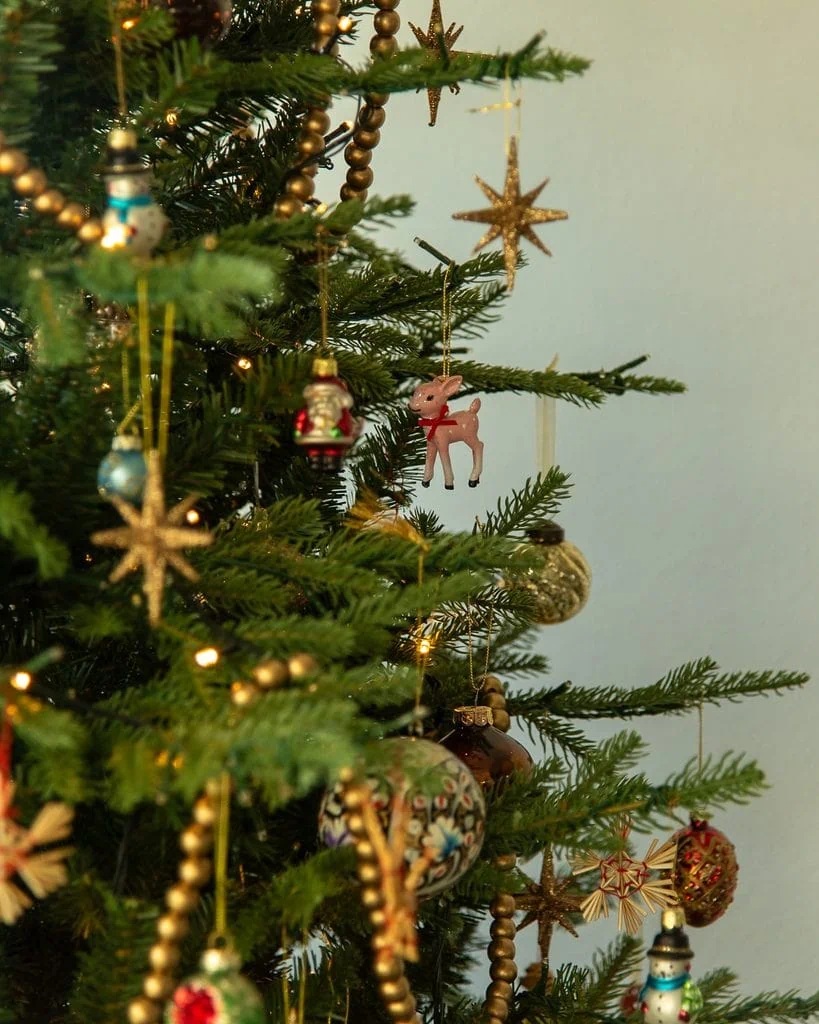
Last year’s Shoppe Amber Interiors Christmas collection gave me the direction for our tree, but I wasn’t trying to recreate one exact product photo. I paid attention to the details that made the overall look feel special: realistic greenery, muted jewel tones, natural materials, slightly old-fashioned shapes and ornaments that looked collected rather than perfectly matched.
Then I searched for affordable versions of those individual ideas. A woven straw star could create the same natural texture. A box of glass ornaments in several shapes could give me the variation I loved. Folk-painted balls added something that looked handmade, while painted wood bead garland brought warmth without introducing another shiny finish.


All of the ornaments shown on our tree are my affordable alternatives inspired by that collection; they are not Shoppe Amber Interiors products. Because I can’t verify the original 2025 prices, I can’t give you an honest item-by-item cost comparison right now. If any of the same ornaments return this season, I’ll add the live products and prices here.
For now, I think the finished rooms are the most useful comparison anyway. The affordable pieces don’t need to be identical to create the same feeling. What matters is how their colors, materials and shapes work together once they are on the tree and repeated throughout the house.
The garland creates the biggest visual change, but the smaller ornaments are what make everything feel collected. I also didn’t buy everything from one store. That mix is part of why the final result feels personal instead of reading as one matching Christmas collection.
Final Thoughts on Creating a Collected Christmas Home
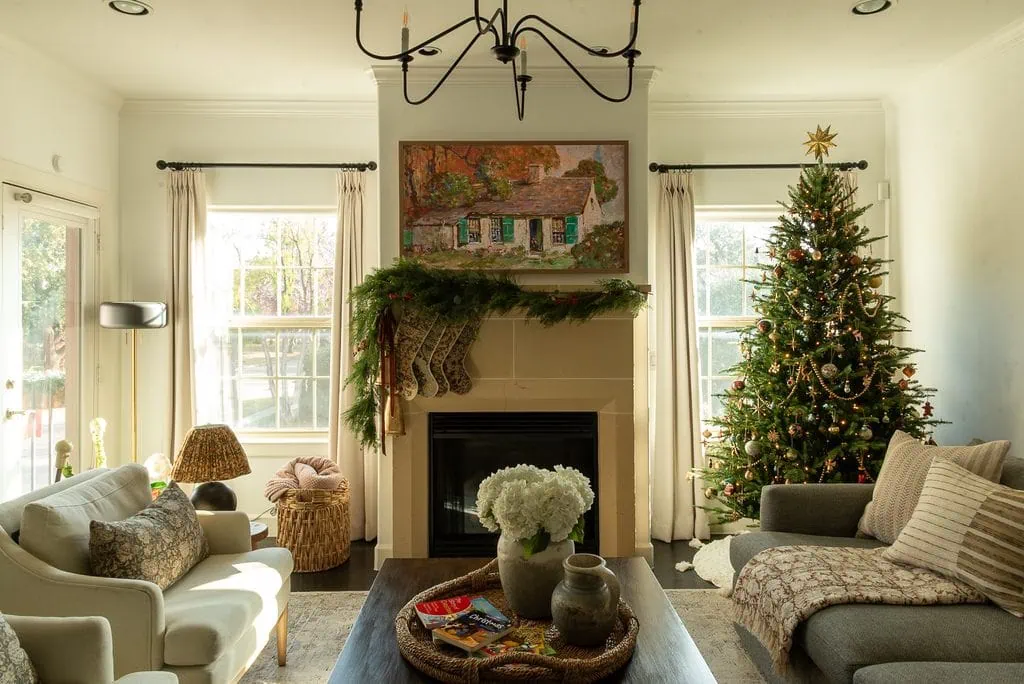
The biggest thing I learned is that the collected look isn’t coming from one magical ornament. It comes from the mix: loose cedar against velvet ribbon, shiny glass next to woven straw, soft kilim near hard mantle and small Christmas pieces layered into rooms that already feel collected.
Once I stopped trying to make every ornament match, the affordable versions became even easier to use. A collected Christmas tree leaves room for pieces you already own, things your kids love and ornaments you may add years from now. That is what keeps the house from looking like it came out of one box.
And truly, the faux cedar may be my favorite affordable find of all. It covers so much of the house, looks convincing in photos and in person, and comes back every year. That is exactly the kind of Christmas purchase I don’t mind storing in January.
Happy decorating!
Jasmine